

In this article, we’ll explore how optimizing the size of your images can take your food photography to the next level. Whether you’re a blogger, a chef, or a food enthusiast, mastering this skill will make your dishes stand out digitally.
Understanding Image Size Optimization
So, what exactly is image size optimization? In the simplest terms, it refers to reducing the file size of your images without sacrificing quality. This is crucial in the digital world where speed and efficiency are paramount. The size of your pictures can significantly impact how quickly your website or social media pages load, affecting user experience and engagement.
Why is this important for food photography? Well, high-quality images are essential for making your dishes look appetizing. However, if these images are too large, they can slow down your page, frustrating viewers and potentially driving them away. By optimizing image size, you ensure that your photos are not only beautiful but also efficiently accessible. This balance is critical to keeping your audience’s eyes on your delicious dishes longer.

Resolution and Dimensions
Resolution and dimensions are crucial in food photography. Resolution refers to the number of pixels per inch (PPI), which affects the clarity and detail of an image. Dimensions, on the other hand, relate to the overall size of the image itself. Higher resolutions and appropriate dimensions ensure that your food looks detailed and enticing, which is crucial for close-up shots where texture and color matter.
File Formats
Choosing the correct file format is pivotal in food photography. JPEG is widely used because it supports high compression, leading to smaller file sizes while retaining reasonable quality. However, it’s a lossy format, meaning some quality is lost each time the file is saved. Although more prominent in file size, PNG is lossless, preserving quality even after multiple saves, making it ideal for images where detail is critical. Other formats like TIFF and RAW are excellent for professional editing, as they contain more data and allow for extensive post-processing.
Compression Techniques
Effective compression reduces file size without compromising visual quality. Techniques vary from simple adjustments like lowering the resolution for web use to more complex methods like selective compression, which targets parts of an image more suited to compression. Balancing these techniques is essential to maintaining the delicious look of your food photos.


Professional photographers often use powerful software like Adobe Photoshop and Lightroom to optimize images. These tools offer extensive features for detailed editing, from adjusting sharpness and colors to resizing and compressing images without noticeable loss of quality.
For quicker solutions, online tools like TinyPNG or ImageResize offer a user-friendly interface for efficiently resizing and optimizing images. These tools are convenient for bloggers or social media enthusiasts who need to process images regularly without extensive editing. Another great tool is the image sizer by Adobe, which provides robust features for resizing images precisely to meet various platform requirements.
Step-by-Step Guide to Using These Tools
Here’s a quick guide to optimizing your food photos:
Select the right tool: Choose a tool based on your needs—Photoshop for detailed edits or an online tool for quick fixes.
Adjust the dimensions: Resize your image to the intended display size. For websites, a width of 1200 pixels is typically sufficient.
Optimize resolution: Setting the resolution to 72 PPI for online use can reduce file size while maintaining visual quality.
Choose the format: Decide on the format based on your need for quality and file size. JPEG is usually sufficient for web images.
Apply compression: Use the tool’s compression features to reduce file size. Be sure to preview the image to ensure no significant loss of quality.
Best Practices for Food Photography
Capturing high-quality food images goes beyond just pointing and shooting; it involves an array of techniques and an understanding of the visual appeal of food. Here are some best practices to help you elevate your food photography:
Lighting is Key
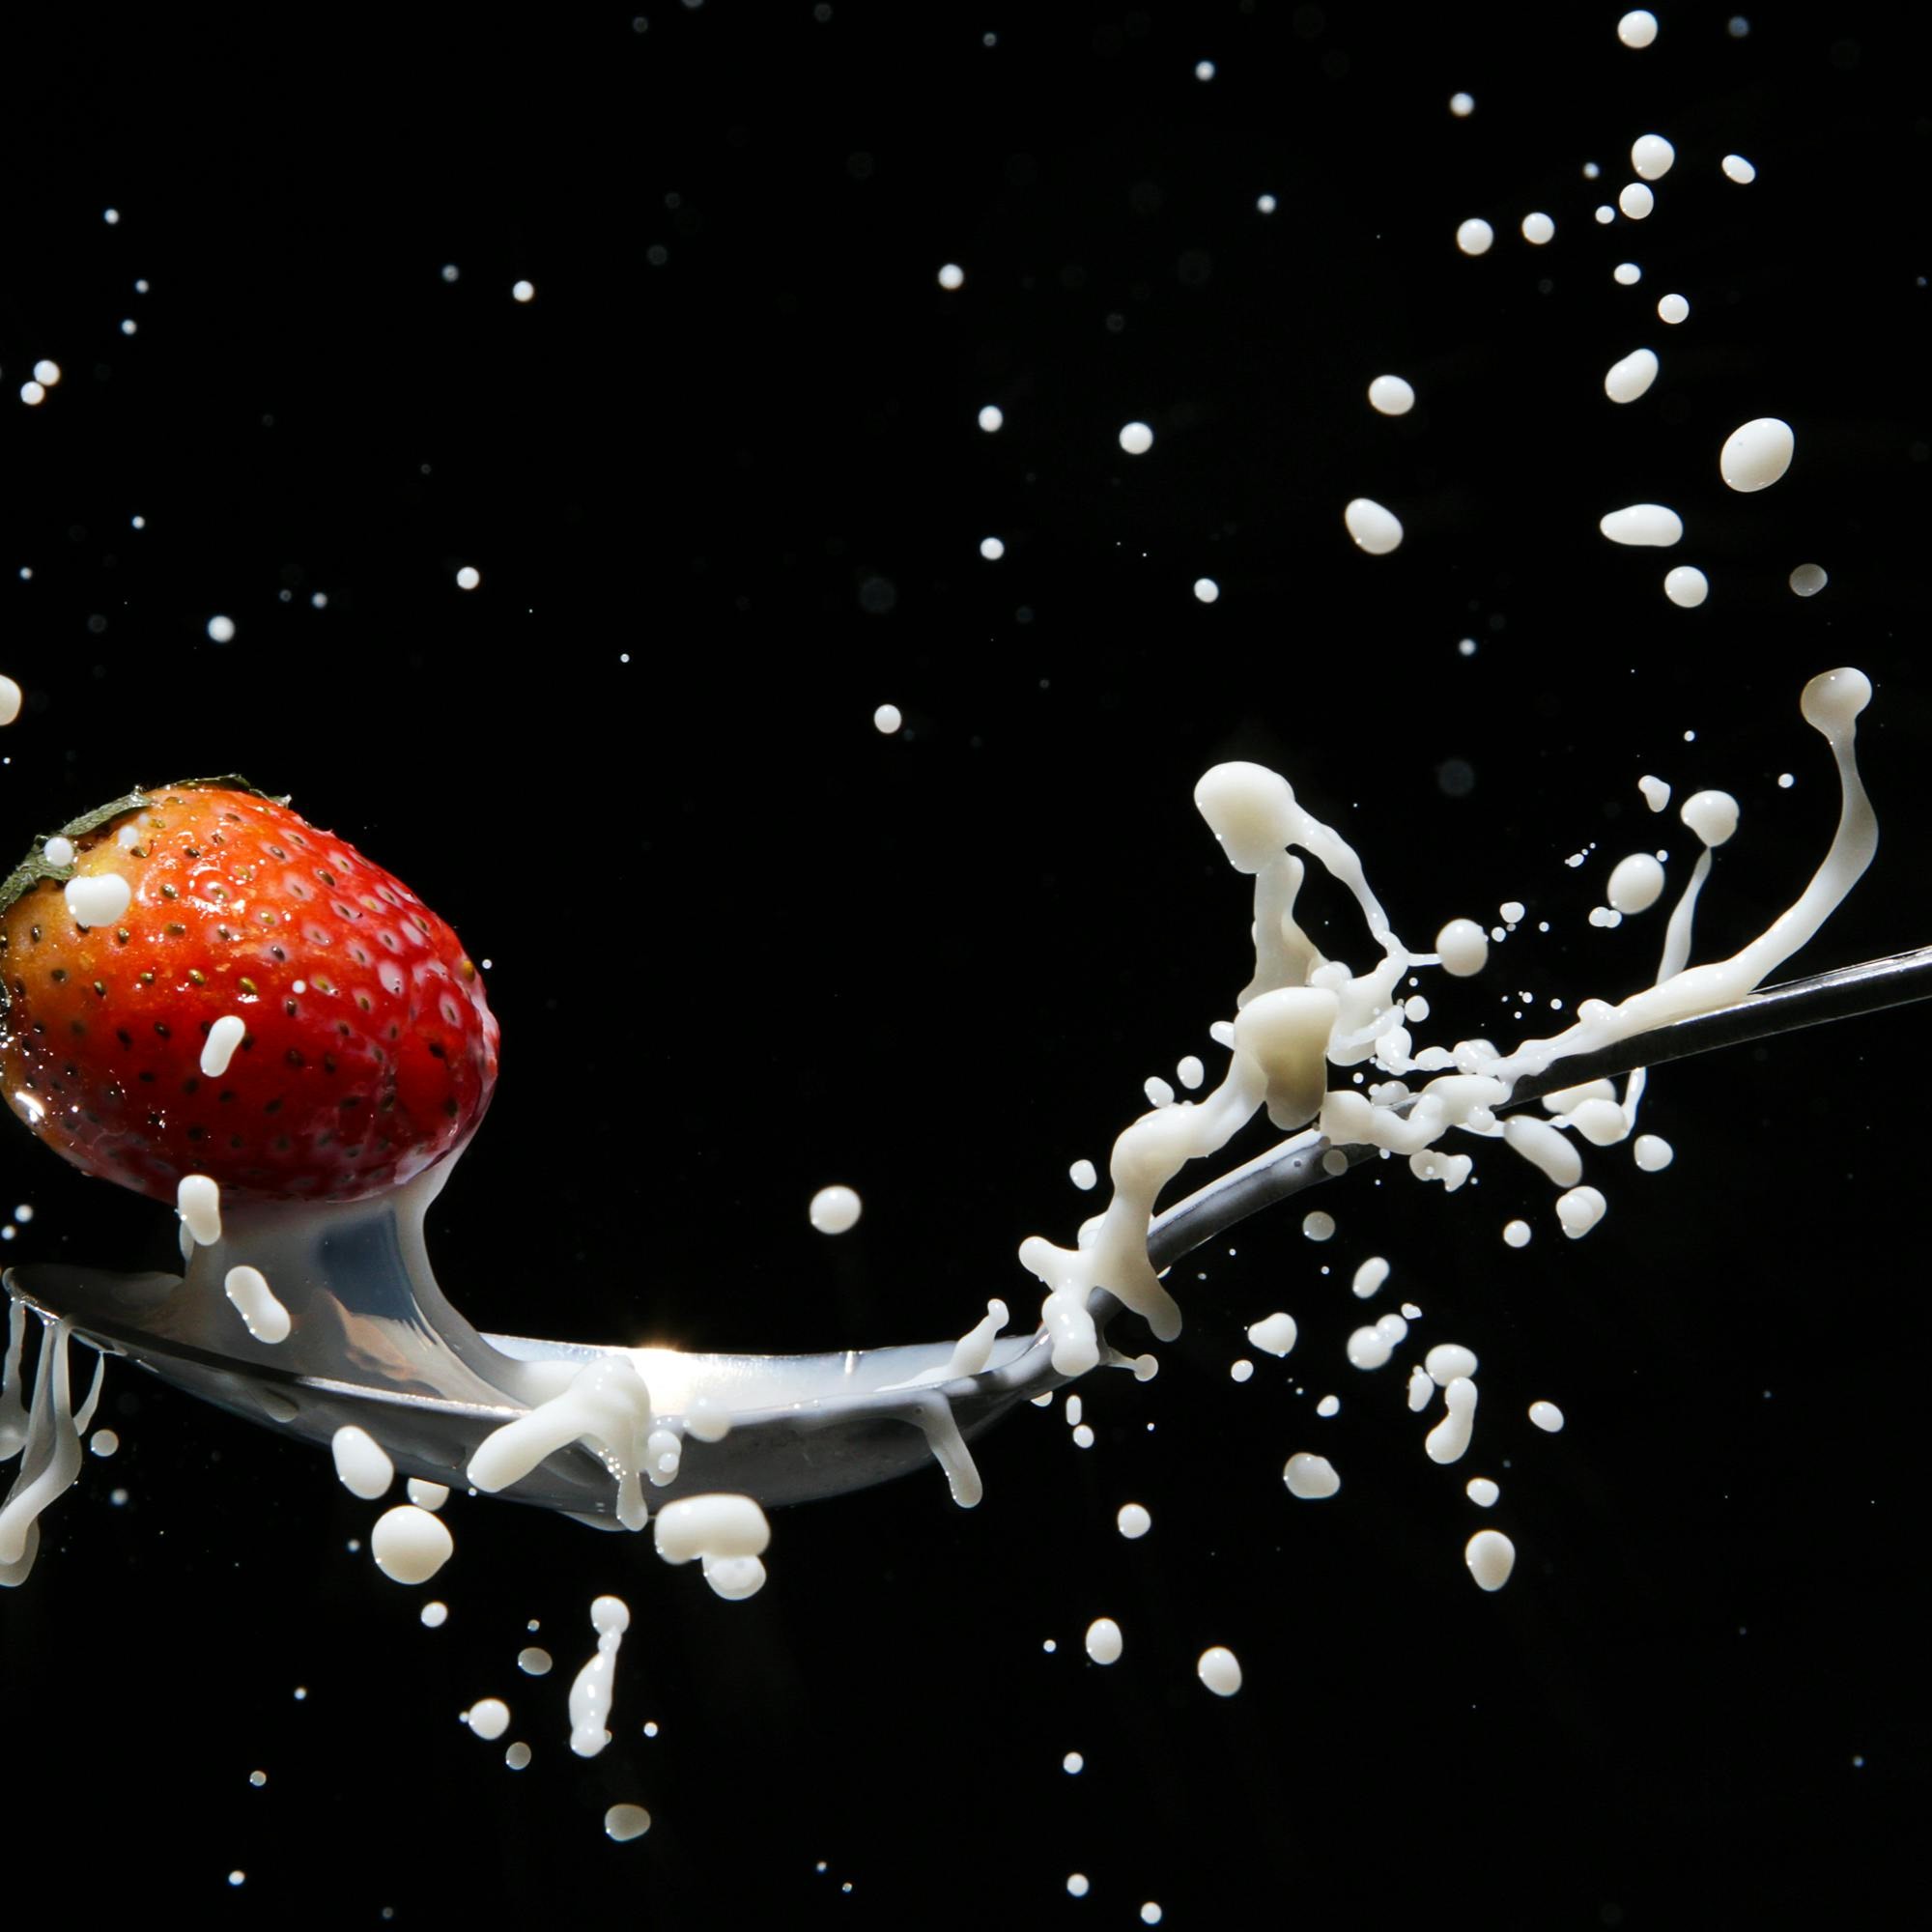
Good lighting is perhaps the most crucial element in food photography. Natural light is generally the best choice as it beautifully highlights the textures and colors of the food, making it look fresh and appealing. Soft artificial lights can also produce great results if natural light isn’t available. Avoid using harsh direct light, which can create unwanted shadows and highlights.
Master the Art of Composition
The composition of your shot can dramatically affect how delicious the food looks. Use the rule of thirds to position the main elements of your dish interestingly. Try shooting from various angles—top-down for a neat, organized look or at plate level to capture the height and depth of dishes like burgers or stacks of pancakes.
Styling Your Dish
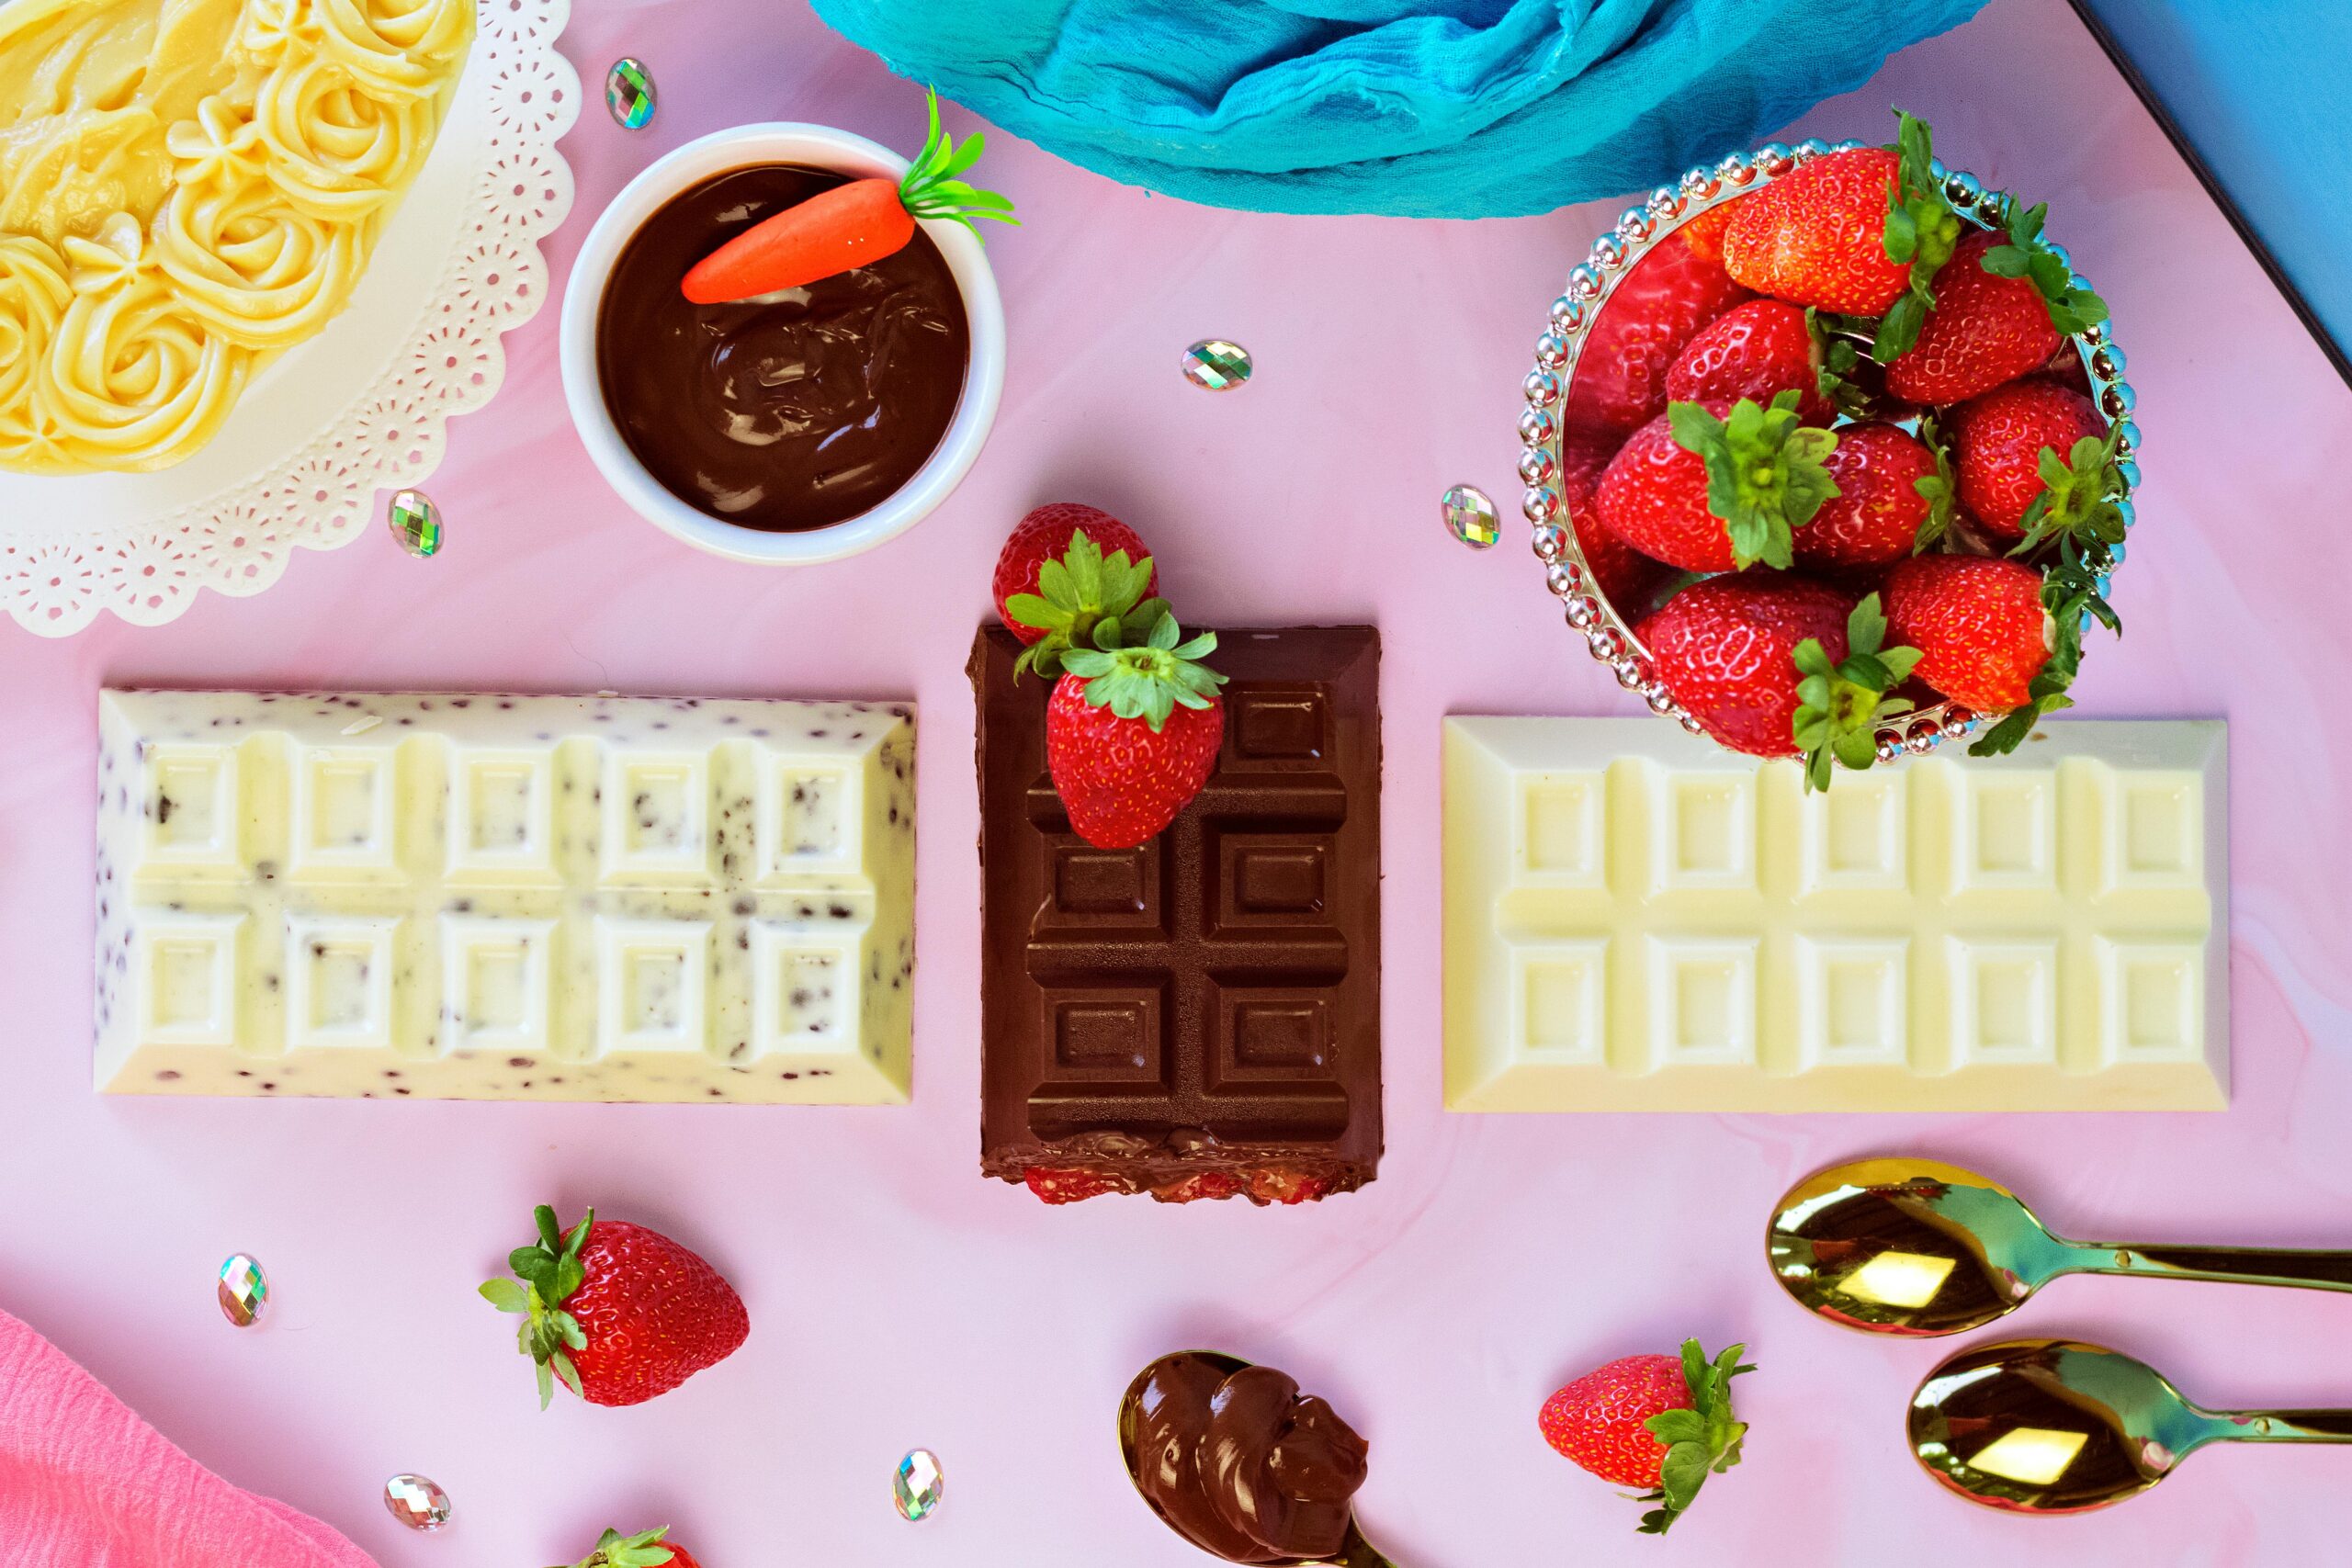
Styling is crucial in food photography. Always present your food as fresh and tidy, using garnishes sparingly to enhance the dish’s natural appeal without cluttering the shot. Use props and backgrounds that complement the food’s colors and textures without overpowering them. For example, a simple wood table or a plain cloth can enhance the vibrancy of colorful dishes without distraction.
Focus on Details
Pay attention to the small but impactful details—wipe away any smudges or spills on the plate, ensure the food is neatly arranged, and highlight the dish’s most attractive features. Sometimes, a close-up of a particular texture or ingredient can create a powerful impact.

Final Editing Tips
Before publication, fine-tune your images to enhance color and sharpness. Tools like Adobe Lightroom offer sliders for vibrance and clarity that can help make your images pop without looking unnatural.
Preparing Images for Different Platforms
Different platforms may require different image specifications. For websites, optimize images to be smaller in size for quicker loading. Vibrant and eye-catching images work best on social media. If printing, ensure your images are in high resolution and saved in a print-friendly format.
Ensuring Accessibility
Always include alt text for images, describing those who cannot see them. This not only improves accessibility but also helps with website SEO.
Conclusion
Throughout this article, we’ve covered crucial techniques for elevating food photography through image size optimization. Remember, the goal is to balance aesthetic appeal with technical efficiency. By avoiding common pitfalls and applying our lighting, composition, and styling tips, you can produce stunning, high-quality images that entice viewers. Dive into these techniques, experiment with different settings, and observe how they transform your food photography. Optimized images look professional and enhance the overall user experience, making your culinary creations a feast for the taste buds and the eyes.