

Why Make Your Sour Cream?
- Unbeatable freshness: When you make sour cream at home, you’re guaranteed to have a product that’s as fresh as it can be. Unlike store-bought varieties, which may have been sitting on shelves for an unknown period, homemade sour cream bursts with vibrant, tangy flavours that elevate any dish it graces.
- Control over ingredients: By making your sour cream, you have complete control over the ingredients that go into it. This means you can choose high-quality, organic dairy products and avoid unnecessary additives or preservatives often found in commercial varieties.
- Cost-effective: Believe it or not, making sour cream at home can be more economical than buying it from the store, especially if you go through a lot of it in your cooking or enjoy it as a condiment.
- Versatility: Homemade sour cream is incredibly versatile and can be used in various dishes, from dips and dressings to baked goods and even as a topping for soups and chili.
How Easy Is It to Make Sour Cream at Home?
Making sour cream at home is straightforward and requires just a few essential ingredients and patience. Here’s a quick overview of how it’s done:
- Start with cream: Unsurprisingly, cream is the base for sour cream. Depending on your desired thickness and richness, you can use heavy cream, light cream, or even half-and-half.
- Introduce a starter culture: To transform the cream into sour cream, you must introduce a starter culture. This can be store-bought buttermilk, plain yogurt, leftover sour cream from a previous batch, or lemon juice.
- Let it culture: Once you’ve combined the cream and the starter culture, you’ll need to let the mixture sit at room temperature for 12 to 24 hours, depending on how tangy you want your sour cream to be.
- Chill and enjoy: After the culturing process, refrigerate your homemade sour cream, ready to be enjoyed! It’s that simple.
One of the best things about making your sour cream is that you can customize it to your liking. Want a thicker consistency? Use heavy cream. Would you prefer a lighter, more pourable sour cream? Go with half-and-half. You can even experiment with different starter cultures to achieve varying levels of tanginess.
Furthermore, homemade sour cream has a longer shelf life than its store-bought counterparts, lasting up to two weeks in the refrigerator when properly stored.
Making your sour cream is not only easy but also incredibly rewarding. From the satisfaction of crafting something delicious from scratch to the unbeatable freshness and flavor, there are countless reasons to try it. So why not roll up your sleeves, gather a few simple ingredients, and embark on creating your own tangy, creamy delight? Your taste buds (and your wallet) will thank you.
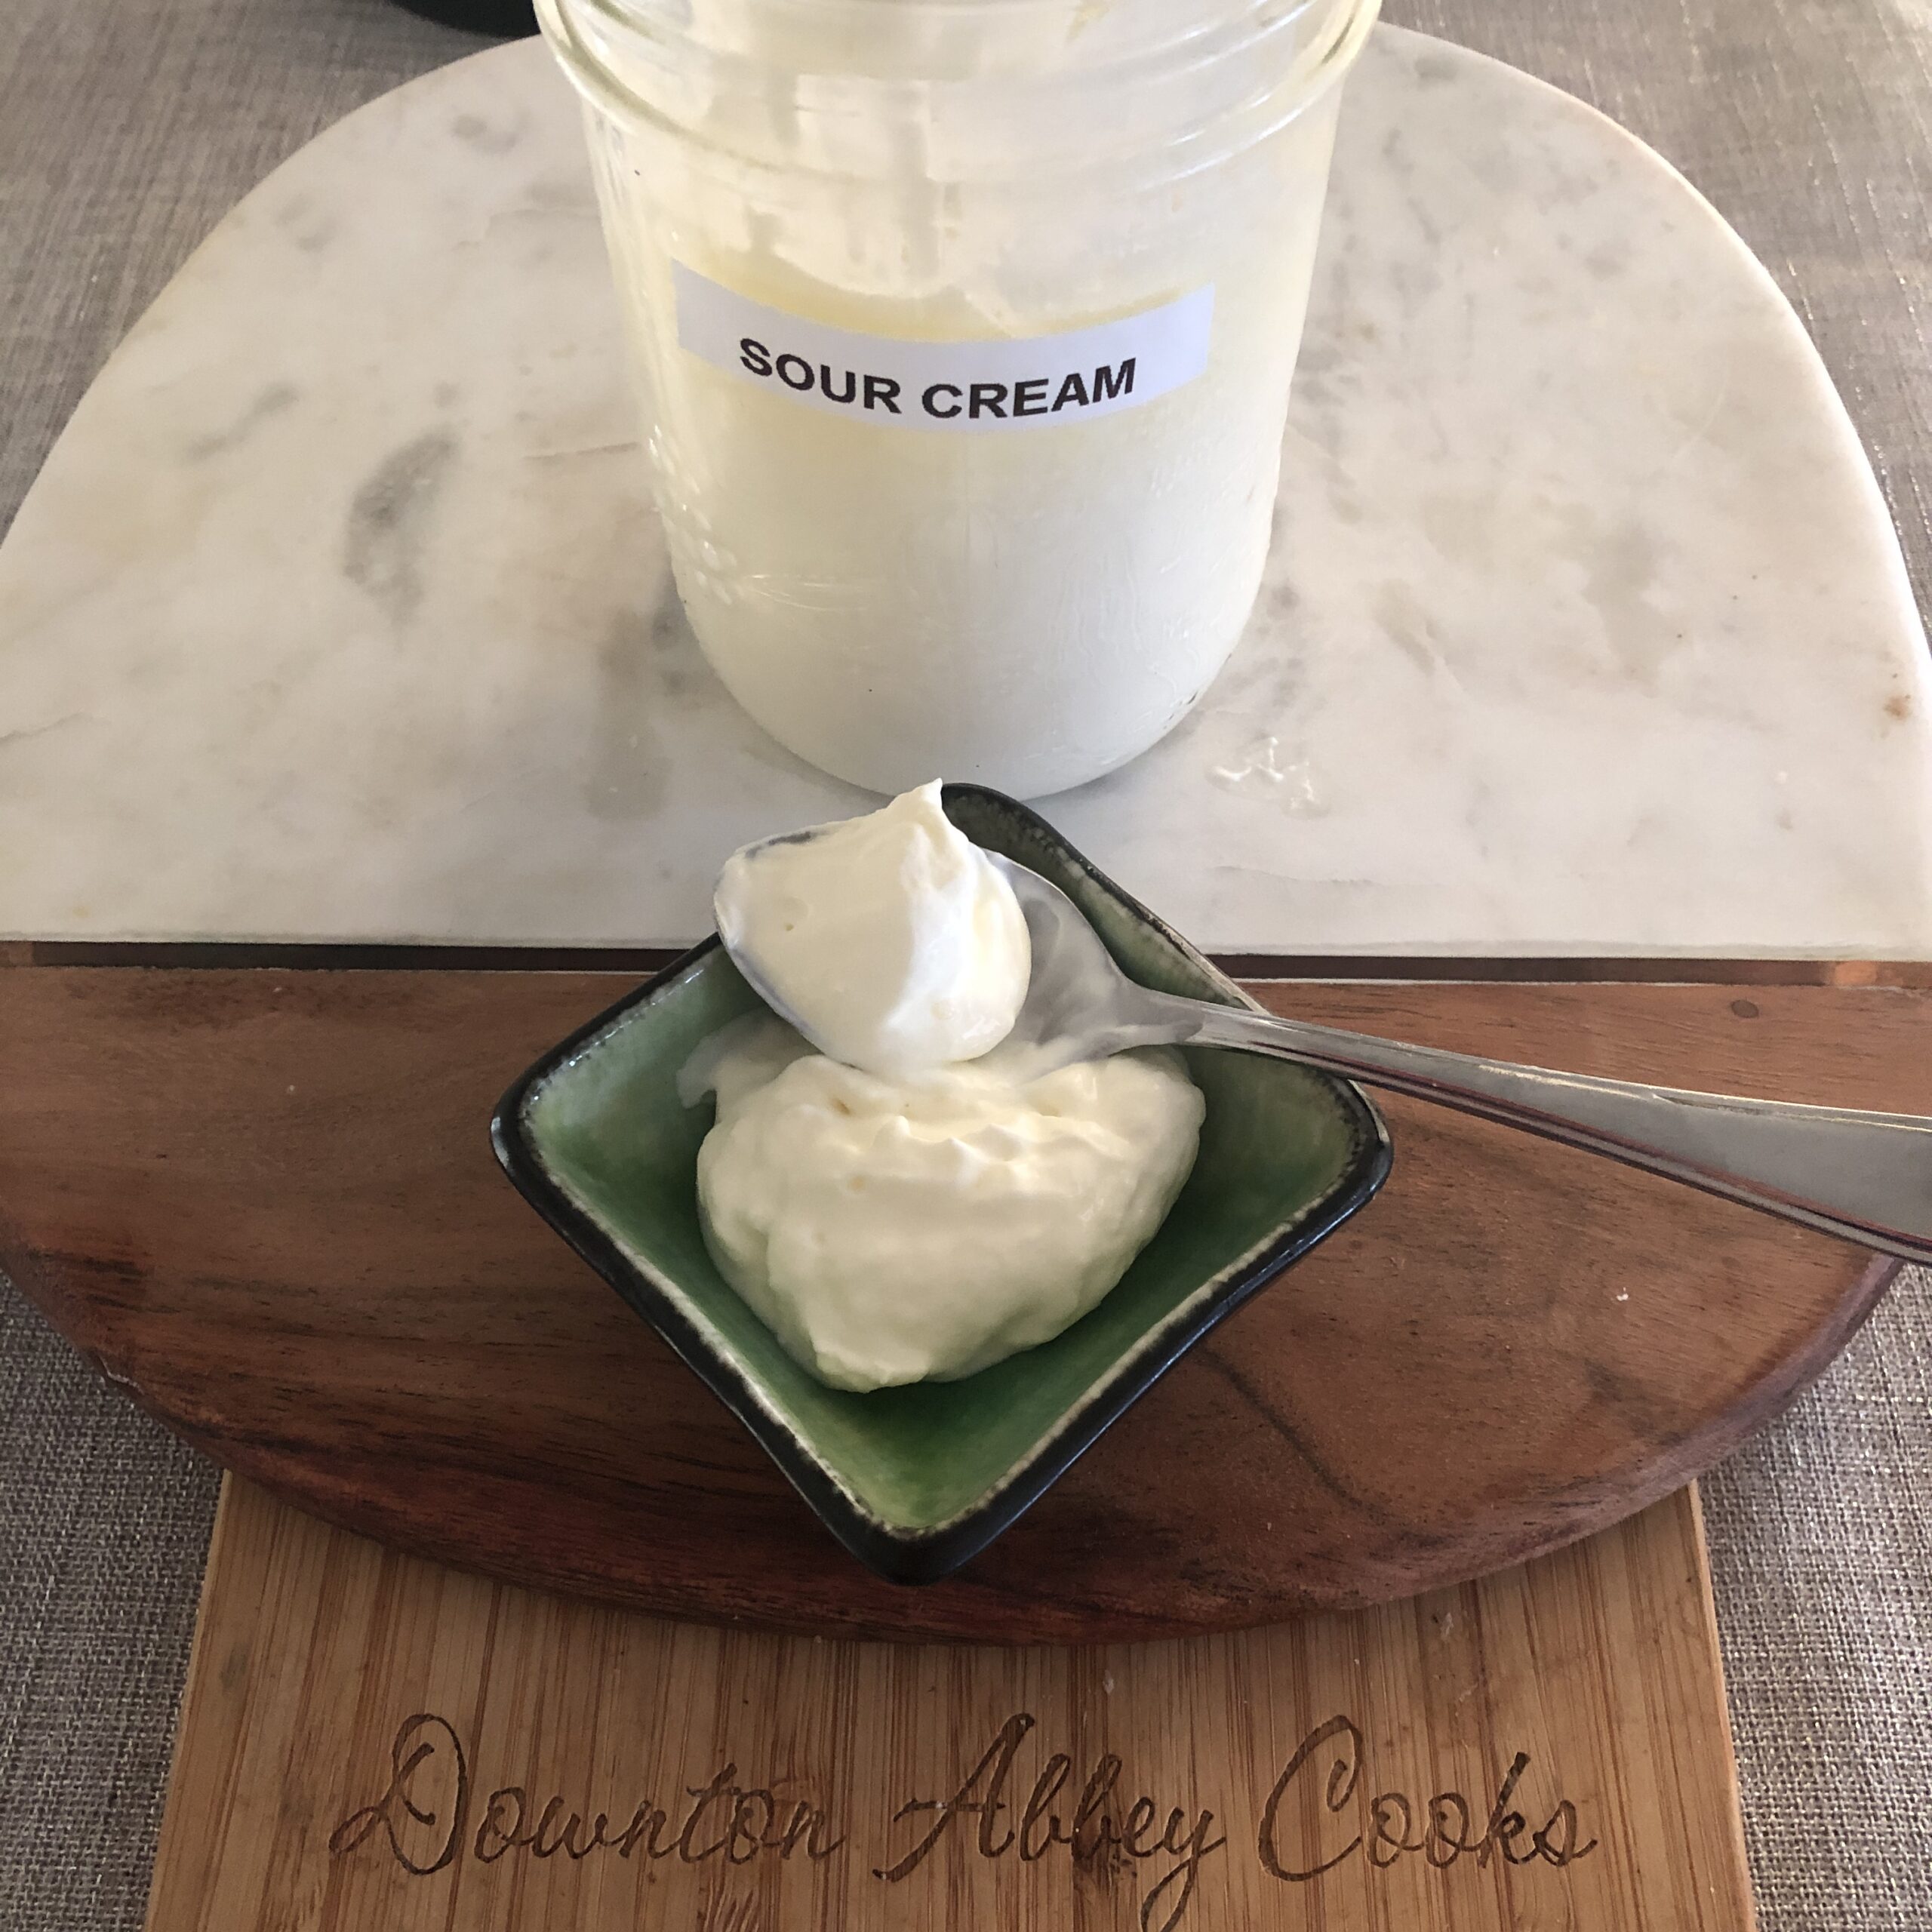
Make Your Own Sour Cream
Ingredients
- 1 cup heavy cream or whipping cream
- 1 tbsp lemon juice

Instructions
- In a clean glass jar or bowl, combine the cream and lemon. Stir gently until just combined.
- Cover the jar/bowl loosely with a lid or cloth. Allow it to sit at room temperature for 12-24 hours, until thickened to your desired consistency. The longer it sits, the thicker and more tangy it will become.
- After culturing for 12-24 hours, give the mixture a gentle stir. The cream should have thickened considerably and taken on a tangy, sour cream flavor.
- Cover tightly and refrigerate. The sour cream will continue to thicken slightly as it chills.
- Use the homemade sour cream within 2 weeks for best freshness and flavor. It makes a great topping for baked potatoes, tacos, chili and can be used in baking too
Notes
- Avoid moving or disturbing the cream too much during the culturing period.
- Culturing at cooler room temps (65-75°F) will take longer but produce a tangier flavor.
- For a thinner consistency, use less cream or dilute finished sour cream with milk.