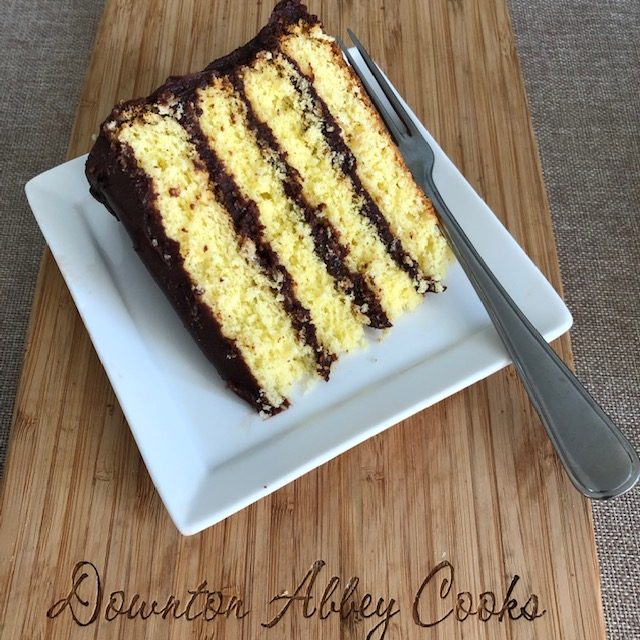
Royal Chef Gabriel Tschumi made this genoise (sponge) birthday cake for Queen Mary during his time at Marlborough Palace. It was one of her favorite cakes. The recipe has been in the royal family for generations. Queen Elizabeth enjoys a chocolate version.
Print
Queen Mary's Birthday Cake
Royal Chef Gabriel Tschumi made this genoise (sponge) birthday cake for Queen Mary during his time at Marlborough Palace. It was one of her favorite cakes.
Servings 1 cake
Ingredients
Cake
- 8 large egg yolks room temperature
- 2 large egg whites room termperature
- 1/2 cup sugar
- 3/4 cup unbleached white flour
- 1/4 cup butter melted
Filling and Frosting
- 2 cups whipping cream
- 1 cup sugar
- 1 pound dark chocolate grated
Instructions
Make the Cake
- Preheat oven to 350F and prepare two 8 inch cake pans by cutting a round of parchment paper to line the bottom.
- Place a large bowl over simmering water on the stove. Don't let the bottom of the bowl touch the water. Using a whisk (I use my hand blender) or beaters, whip the eggs and sugar the mixture for at least 10 minutes until it reaches the ribbon stage. This means that when to take the beater out the batter streams in a ribbon which doesn't immediately disappear back into the batter.
- Gently sift in the flour in thirds, carefully folding in after each incorporation. Take 1/2 cup of the batter and mix with the warm melted butter. Return the butter mixture back to the batter and carefully fold in.
- Pour the batter into the prepared cake tins. Cook for 20 minutes or until a cake tester comes out clean. Cool tins on wire racks and when cool to the touch, remove from the tins and place on the wire racks to cool completely.
Make the Filling/Frosting
- In a medium heavy saucepan on the stove, heat the cream and sugar until boiling. Add the chocolate and remove from the stove, stirring until all the chocolate has been incorporated and the mixture is smooth.
- Let the mixture cool for at least one hour so it sets to spreading consistency.
Cake Assembly
- Carefully slice each cake through the middle so you end up with 4 layers. I use a cake slicer to ensure equal layers without damaging the cake
- Cut strips of parchment paper to protect your cake plate. You want to be able to easily slide the paper out from the cake. Otherwise if you have a cake transfer tool, you can omit this step. I also find a turn table an easy way to make great finish on the cake.
- Place the bottom layer of the cake on the protected cake plate and spread some filling on top. An offset spatula is like a magic wand to ensure proper coverage. Repeat with the other layers. Coat the whole cake with the remaining frosting which should be almost set at this point.

