
Searching for the secret to flawless cakes and breads that gracefully slide right out of the pan? Whip up this easy homemade baking release glaze and ditch expensive non-stick sprays for good.
We’ve all felt the weekend morning disappointment of excitedly flipping a pancake or muffin tin only to reveal a burnt, sticky disaster fused to the pan. Despite your best batter or dough finesse, treats adhere and burn without a trusty non-stick agent. But chemical-laden store-bought sprays also come with safety and performance drawbacks.
This quick DIY baking release glaze offers the non-stick power you need minus the hefty price tag, unwanted chemicals and disappointing results of store-bought brands. With just three common pantry staples, it evenly coats pans better than any spray for the flawless release avid bakers dream about. Plus a little goes a long way, lasting for weeks of baking bliss!
Why Homemade Beats Store-Bought Baking Sprays
Aerosol non-stick sprays seem like essential baking tools. But flip over that shiny canister and you’ll likely spot some additive red flags like “propellant” gases, “anti-foaming” agents, and vague “natural flavours.” These extra chemicals blast out an ultra-fine mist while leaving behind potentially risky residues with every squirt.
According to research by the Food and Drug Administration (FDA), common chemical propellants and ingredients in popular baking sprays may pose health issues with long-term use and exposure:
- Benzene – Linked to bone marrow harm and leukemia at high levels
- Methanol – Toxic effects when ingested
- Butane & Propane Gases – Harmful residential/environmental pollutants
Seeking out “natural” baking sprays can help avoid these specific additives. But pricier organic brands still often contain processed seed oils, soy/wheat proteins, gums, glycerides and emulsifiers to replace the chemicals.
This easy homemade baking release glaze skips all the added stuff completely. It’s just vegetable shortening, flour, and a touch of oil – three basic pantry staples you likely stock already! With no propellants or stabilization agents, it coats pans more evenly than any spray for superior release.
Harness the Power of Shortening + Flour
What makes this DIY glaze formula so reliable compared to store-bought? The ultimate non-stick duo: shortening and flour!
Vegetable shortening provides a smooth, consistent lipid barrier over cookware without burning, thanks to its uniquely high smoke point. And because shortening is 100% pure emulsified fat without water content, it leaves pans slick as ice for batter to gracefully slide over.
All-purpose flour lends just the right thickness so the glaze can adhere evenly across cooking surfaces without thinning out or dripping off like straight oil would.
Together these two humble pantry basics combine to create a high-performing release layer. When coupled with a simple mixing method and no need for complicated emulsification science, it’s easy for home bakers to whip up for incredibly reliable results every time.
Level Up Your Baking Game With Brilliant Glaze
Still struggling with sticking and burning despite using baking spray? Ditch the disappointing canisters for this simple, 3-ingredient DIY formula instead – it’s a total game changer!
Making your own also allows customizing exactly how much oil versus shortening you want for personalized performance. Amp up the buttery flavour with more shortening or increase viscosity by adding a touch more flour. Play with ratios once you get the hang of it!
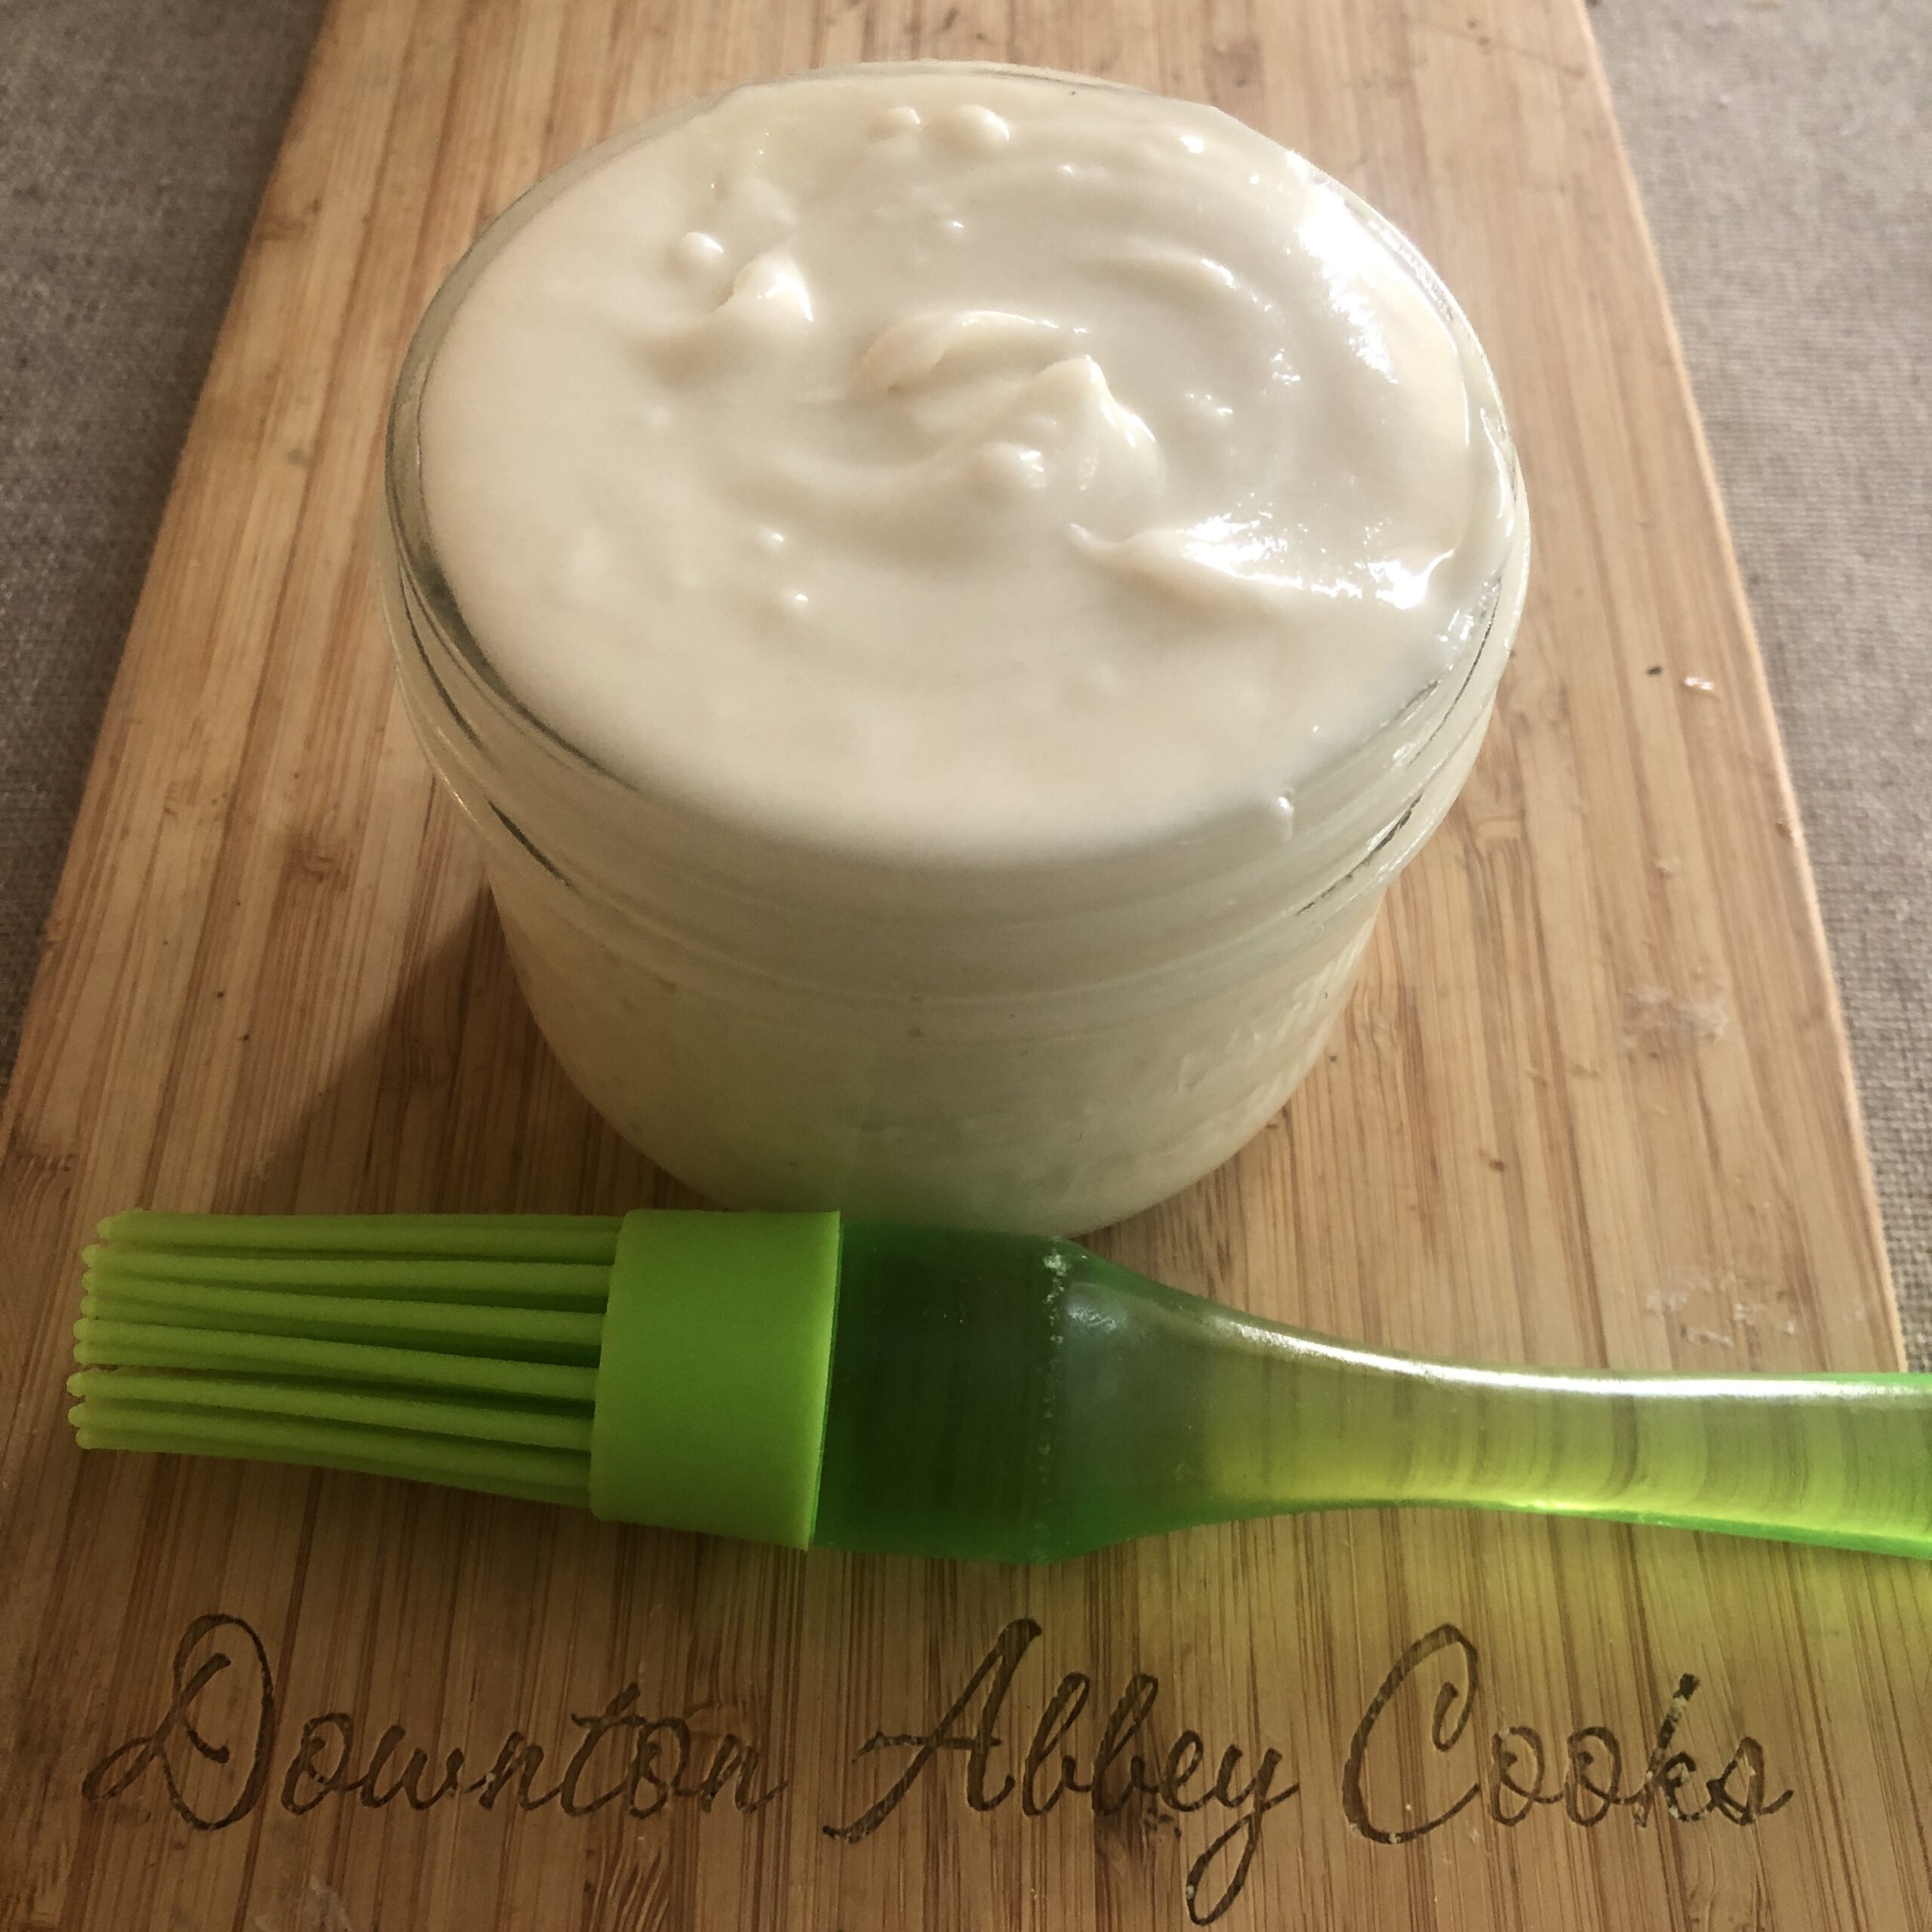
Whip up a fresh batch and store chilled before sweeping over pans and grids with a pastry brush to create an ultra-fine finish. Then bake away without fear of treats welding themselves to cookware! Your muffins, cakes, waffles and more will release flawlessly to reveal bakery-worthy masterpieces all made right at home.
Graduating to next-level non-stick mastery allows one to get creative with recipes too. Now’s the time to finally try your hand at airy soufflés, smooth glazed doughnuts, or chunky monkey breads knowing they’ll all slide out beautifully intact to impress family and friends.
So take your baking skills from burnt bottoms to bakery-quality brilliance with this easy DIY non-stick secret ingredient. Ditch disappointing canned sprays and make every cooking day count with this game-changing glaze!

Budget Saver Baking Grease
Ingredients
- 1/2 cup vegetable shortening
- 2/3 cup all purpose flour
- 1/2 cup vegetable oil
Instructions
- Combine shortening and flour in a bowl, and mix until there are no more large lumps with a mixer for about two minutes.
- Slowly add the oil and continue to mix for another minute until smooth.
- Pour the mixture into a small jar with a lid. Use a pastry brush to coat surfaces before you bake.
- Store in the fridge. It will keep for weeks.