 Red velvet cake has spent over a century pretending to be one thing while actually being another. It started as a fix for bad flour, got mistaken for a Southern original, and somewhere along the way turned into the most argued-about cake in American baking. So when this recipe swaps the usual cream cheese frosting for a dark chocolate mousse, it is not breaking with tradition. It is doing exactly what red velvet has always done: changing to fit the moment.
Red velvet cake started as a Victorian-era “velvet cake,” made soft by mixing cocoa into coarse flour. Its red tint was originally an accident, caused by a reaction between cocoa, buttermilk, and baking soda. New York’s Waldorf-Astoria popularized the cake in the 1920s and 1930s, though its own records don’t support the invention story it tells. The bright red color we know today came from added food dye, introduced in the 1940s by the Adams Extract company. Here’s how that happened.
What Is Red Velvet Cake, Originally?
Red velvet cake started as a fix for bad flour, not a flavor idea. Before steel-roller milling caught on in the late 1800s, flour was coarse. Cooks in wealthy Victorian households found that mixing cocoa into cake batter broke down that texture and left a finer, softer crumb. They called it velvet cake. Not red velvet. Just velvet. The name described the crumb, not the color.
How Did Devil’s Food Cake and Velvet Cake Combine?
By the 1890s, chocolate cake was having its own moment. Devil’s food cake showed up around the same time: dense, dark, built on egg yolks and often a shot of coffee. Bakers started blending the two styles together. In 1911, one year before the world of Downton Abbey opens, a hybrid called velvet cocoa cake appeared in American kitchens. It is the closest direct ancestor to the cake we bake today.
Why Is Red Velvet Cake Red?
The reddish tint in early velvet cocoa cake was not planned. It likely came from a chemical reaction between raw cocoa, buttermilk, and baking soda, though some food historians blame the brown sugar of the era instead. Either way, the result was a dull mahogany, nothing like the crimson we picture now. Bakers leaned into it anyway. By the 1920s, recipes for red regal cake and red feather cake were running in Midwest newspapers.
Did the Waldorf-Astoria Invent Red Velvet Cake?
Probably not, though the hotel has claimed credit since the 1920s. The Waldorf-Astoria’s own archives do not back that up. Records only show the cake on the menu there starting in the 1930s. The famous legend about a guest charged a steep fee for the recipe, who then got her revenge by handing it out to strangers, has never been confirmed either. It is a great story. It is just not history.
When Did Red Velvet Cake Become Bright Red?
In the 1940s. A Texas food coloring company called Adams Extract tasted a version of the cake, decided it needed more red, and started selling dye alongside recipe cards to make sure people had a reason to buy it. It worked. That marketing push is why the cake looks the way it does today.
Is Cream Cheese Frosting Traditional on Red Velvet Cake?
Not originally. Cream cheese frosting became common only after Kraft’s Philadelphia brand turned cream cheese into a pantry staple, decades after the cake itself first appeared. The oldest thread in this cake’s story is chocolate: the cocoa that lightened the batter, the devil’s food cake that gave it depth. A dark chocolate mousse frosting, like the one used here, is not a departure from red velvet’s history. It is a return to it.
The Last Word
Red velvet cake has never had one true version, one true inventor, or one true frosting. It has only ever had whoever was baking it at the time, working with what they had on hand, and rewriting the recipe again. This one just happens to be very good at rewriting it.
Frequently Asked Questions
Who invented red velvet cake?
No single person gets credit. It grew out of Victorian velvet cake, was refined into velvet cocoa cake by 1911, and was popularized starting in the 1920s and 1930s by New York’s Waldorf-Astoria.
Why is red velvet cake called “red velvet”?
“Velvet” is a Victorian term for the cake’s fine, soft crumb. The red color came later, first as a side effect of the cocoa-buttermilk-baking soda reaction, then as an added dye starting in the 1940s.
Did the Waldorf-Astoria really invent red velvet cake?
Probably not. The hotel has claimed credit since the 1920s, but its own archives show no record of the cake before the 1930s.
Is cream cheese frosting traditional on red velvet cake?
No. Cream cheese frosting became standard only after Kraft’s Philadelphia brand made cream cheese widely available, well after the cake itself was established.
When did red velvet cake turn bright red?
In the 1940s, when the Adams Extract company began marketing red food dye specifically for the cake.
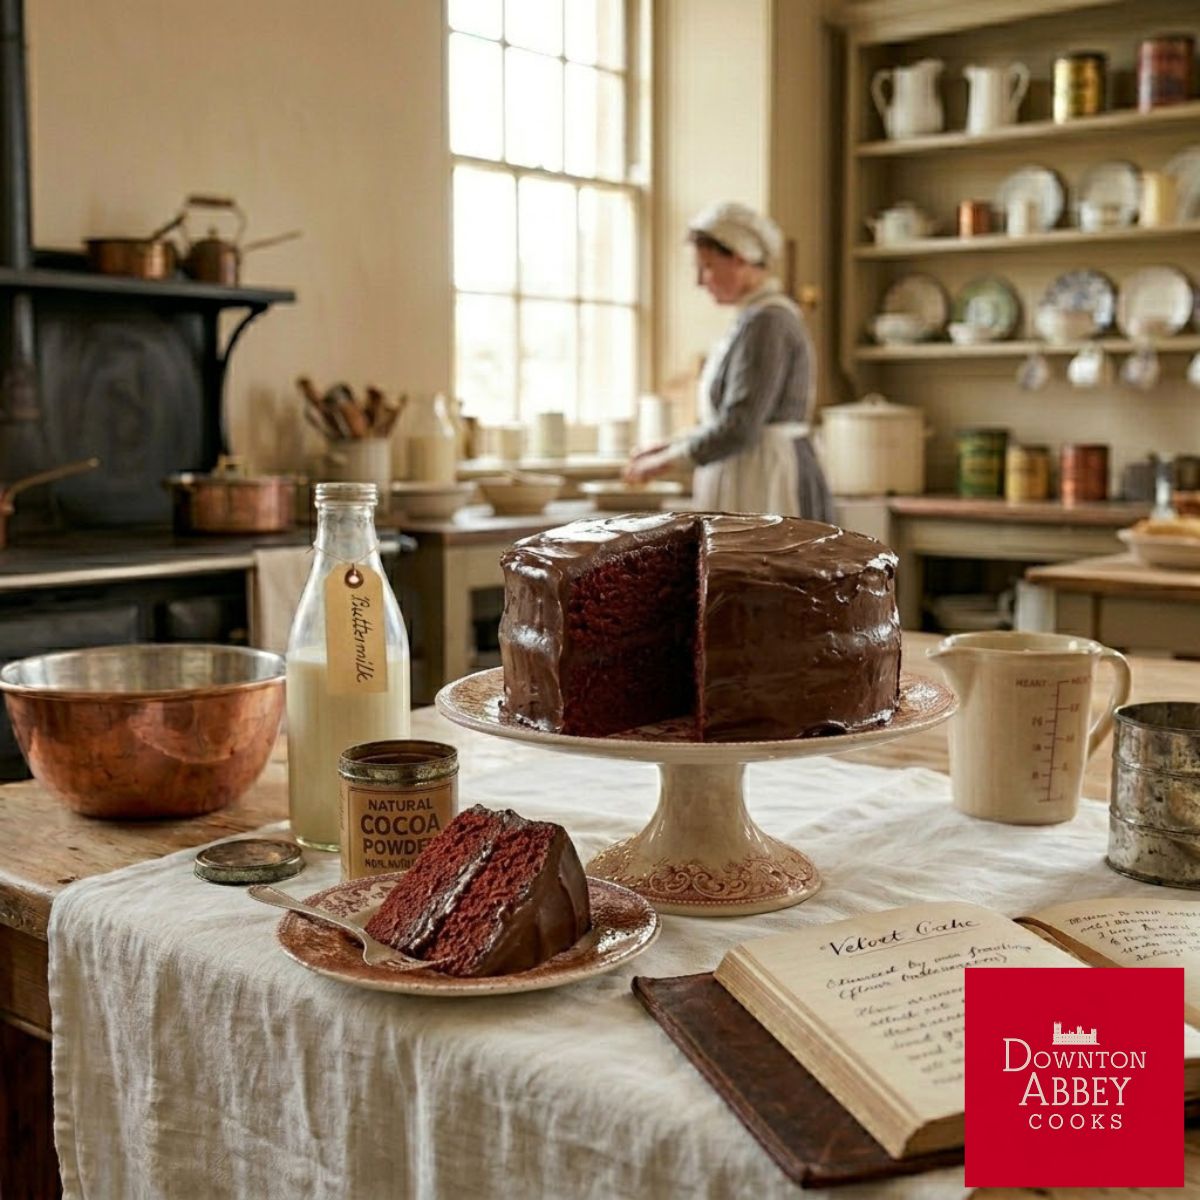
Red Velvet Cake with Chocolate Mousse Frosting
Equipment
- 2 9" cake tins
Ingredients
For the Cake
- ½ cups plus 1 Tbsp [360 g] buttermilk at room temperature
- 3 large eggs at room temperature
- 1¼ cups plus 2 Tbsp [280 g] neutral oil
- 1 tbsp. vanilla extract or paste
- ¾ cup plus 2 Tbsp [200 g] vanilla yogurt at room temperature
- 1 cup [200 g] granulated sugar
- 1½ cups plus 2 Tbsp [320 g] dark brown sugar
- 1 tbsp. instant coffee powder
- 3¼ cups [380 g] all-purpose flour
- 3 tbsp. cornstarch
- ½ cup [50 g] Dutch-process cocoa powder
- 1½ tsp baking soda
- 1½ tsp kosher salt
- 1½ tsp white vinegar
- 4 to 8 tbsp. [85 to 114 g] red food coloring
- ¼ cup [60 g] boiling water
For the Mousse
- 1 1/4 cups plus 2½Tbsp [240 g] finely chopped dark chocolate
- 1 cup plus 2 Tbsp [260 g] whole mil, room temperature
- 4 large egg yolks
- 1 cup plus 2 tbsp. dark brown sugar
- 1/2 cup plus 1Tbsp [50 g] black cocoa powder
- 1 tsp. kosher salt
- 2⅔ cups heavy cream

Instructions
For The Cake
- Preheat the oven to 350°F [180°C]. Grease and line two 9 in [23 cm] round cake pans with parchment paper.
- In a large bowl, whisk together the buttermilk, eggs, oil, vanilla, and yogurt until smooth. Gradually add the granulated sugar, brown sugar, and instant coffee, whisking until fully dissolved.
- Sift the flour, cornstarch, Dutch-process cocoa powder, baking soda, and salt over the mixture. Whisk until combined, making sure no dry pockets remain. Add the vinegar and red food coloring, stirring until the batter is evenly mixed and smooth. Gradually stream in the boiling water, whisking constantly to fully incorporate.
- Divide the batter evenly between the prepared baking pans and use an offset spatula to smooth the tops. Bake for 20 to 30 minutes, or until a toothpick inserted into the center comes out clean or with only a few moist crumbs. Remove from the oven and place on a wire rack. Let the cakes cool in the pans to room temperature before running a butter knife inside the rim of the pans and inverting the cakes onto the rack. Just before assembly, use a serrated knife to trim any doming for even layers.
For the Mousse
- In a medium heatproof bowl, place the dark chocolate. Set a fine-mesh sieve over the bowl.
- In a medium saucepan over medium heat, warm the whole milk until lightly simmering but not boiling.
- In a separate bowl, whisk together the egg yolks, brown sugar, black cocoa powder, and salt until a thick paste forms. Gradually add the warm milk to the egg mixture, whisking constantly to prevent the eggs from scrambling.
- Return the mixture to the saucepan and cook over medium heat, stirring constantly, until it thickens slightly and coats the back of a spoon, 3 to 4 minutes. Remove from the heat and pour the mixture through thefine-mesh sieve into the bowl with the dark chocolate. Let sit for 4 to 6minutes to melt the chocolate, then mix until smooth. Allow the mixture to coo lto room temperature.
- In the bowl of a stand mixer fitted with the whisk attachment, whip the heavy cream on low speed, gradually increasing to medium-high. Continue whipping until soft peaks form, 3 to 5 minutes. Be careful not to overwhip.
- Gently fold half of the whipped cream into the chocolat emixture until fully incorporated, being careful not to deflate the mousse. Fold in the remaining whipped cream until no streaks remain. Set aside at room temperature until ready to assemble and decorate the cake.
Assemble the Cake
- Place the first cake layer on a cake board or serving plate, securing it with a small dab of the dark chocolate mousse directly on the board. Spread about 1 cup [227 g] of the mousse over the top, using an offset spatula to flatten it evenly.
- Place the second cake layer on top, aligning it carefully, and use the remaining mousse to frost the top and sides of the cake as desired.
- Refrigerate the cake overnight to allow the flavours to develop and come together.