
 This no-knead crusty white bread revolutionized home baking when it earned King Arthur’s 2016 Recipe of the Year award. One simple 5-minute dough makes 3-4 artisan-quality loaves that you bake on demand over the course of a week. The result? Bakery-worthy bread with a crackling-thin crust and open, airy crumb—without kneading, without a stand mixer, and without babysitting a schedule.
The game-changing method: Stir together flour, water, salt, and yeast until a wet, shaggy dough forms. Let it rise 2 hours at room temperature, then refrigerate. That’s it. The dough keeps in your fridge for up to 7 days, improving in flavour daily (by day 7, it develops tangy sourdough notes). When you want fresh bread, grab a hunk of dough, shape it loosely, let it rest 60-90 minutes, then bake in a 450°F oven with steam for 25-35 minutes.
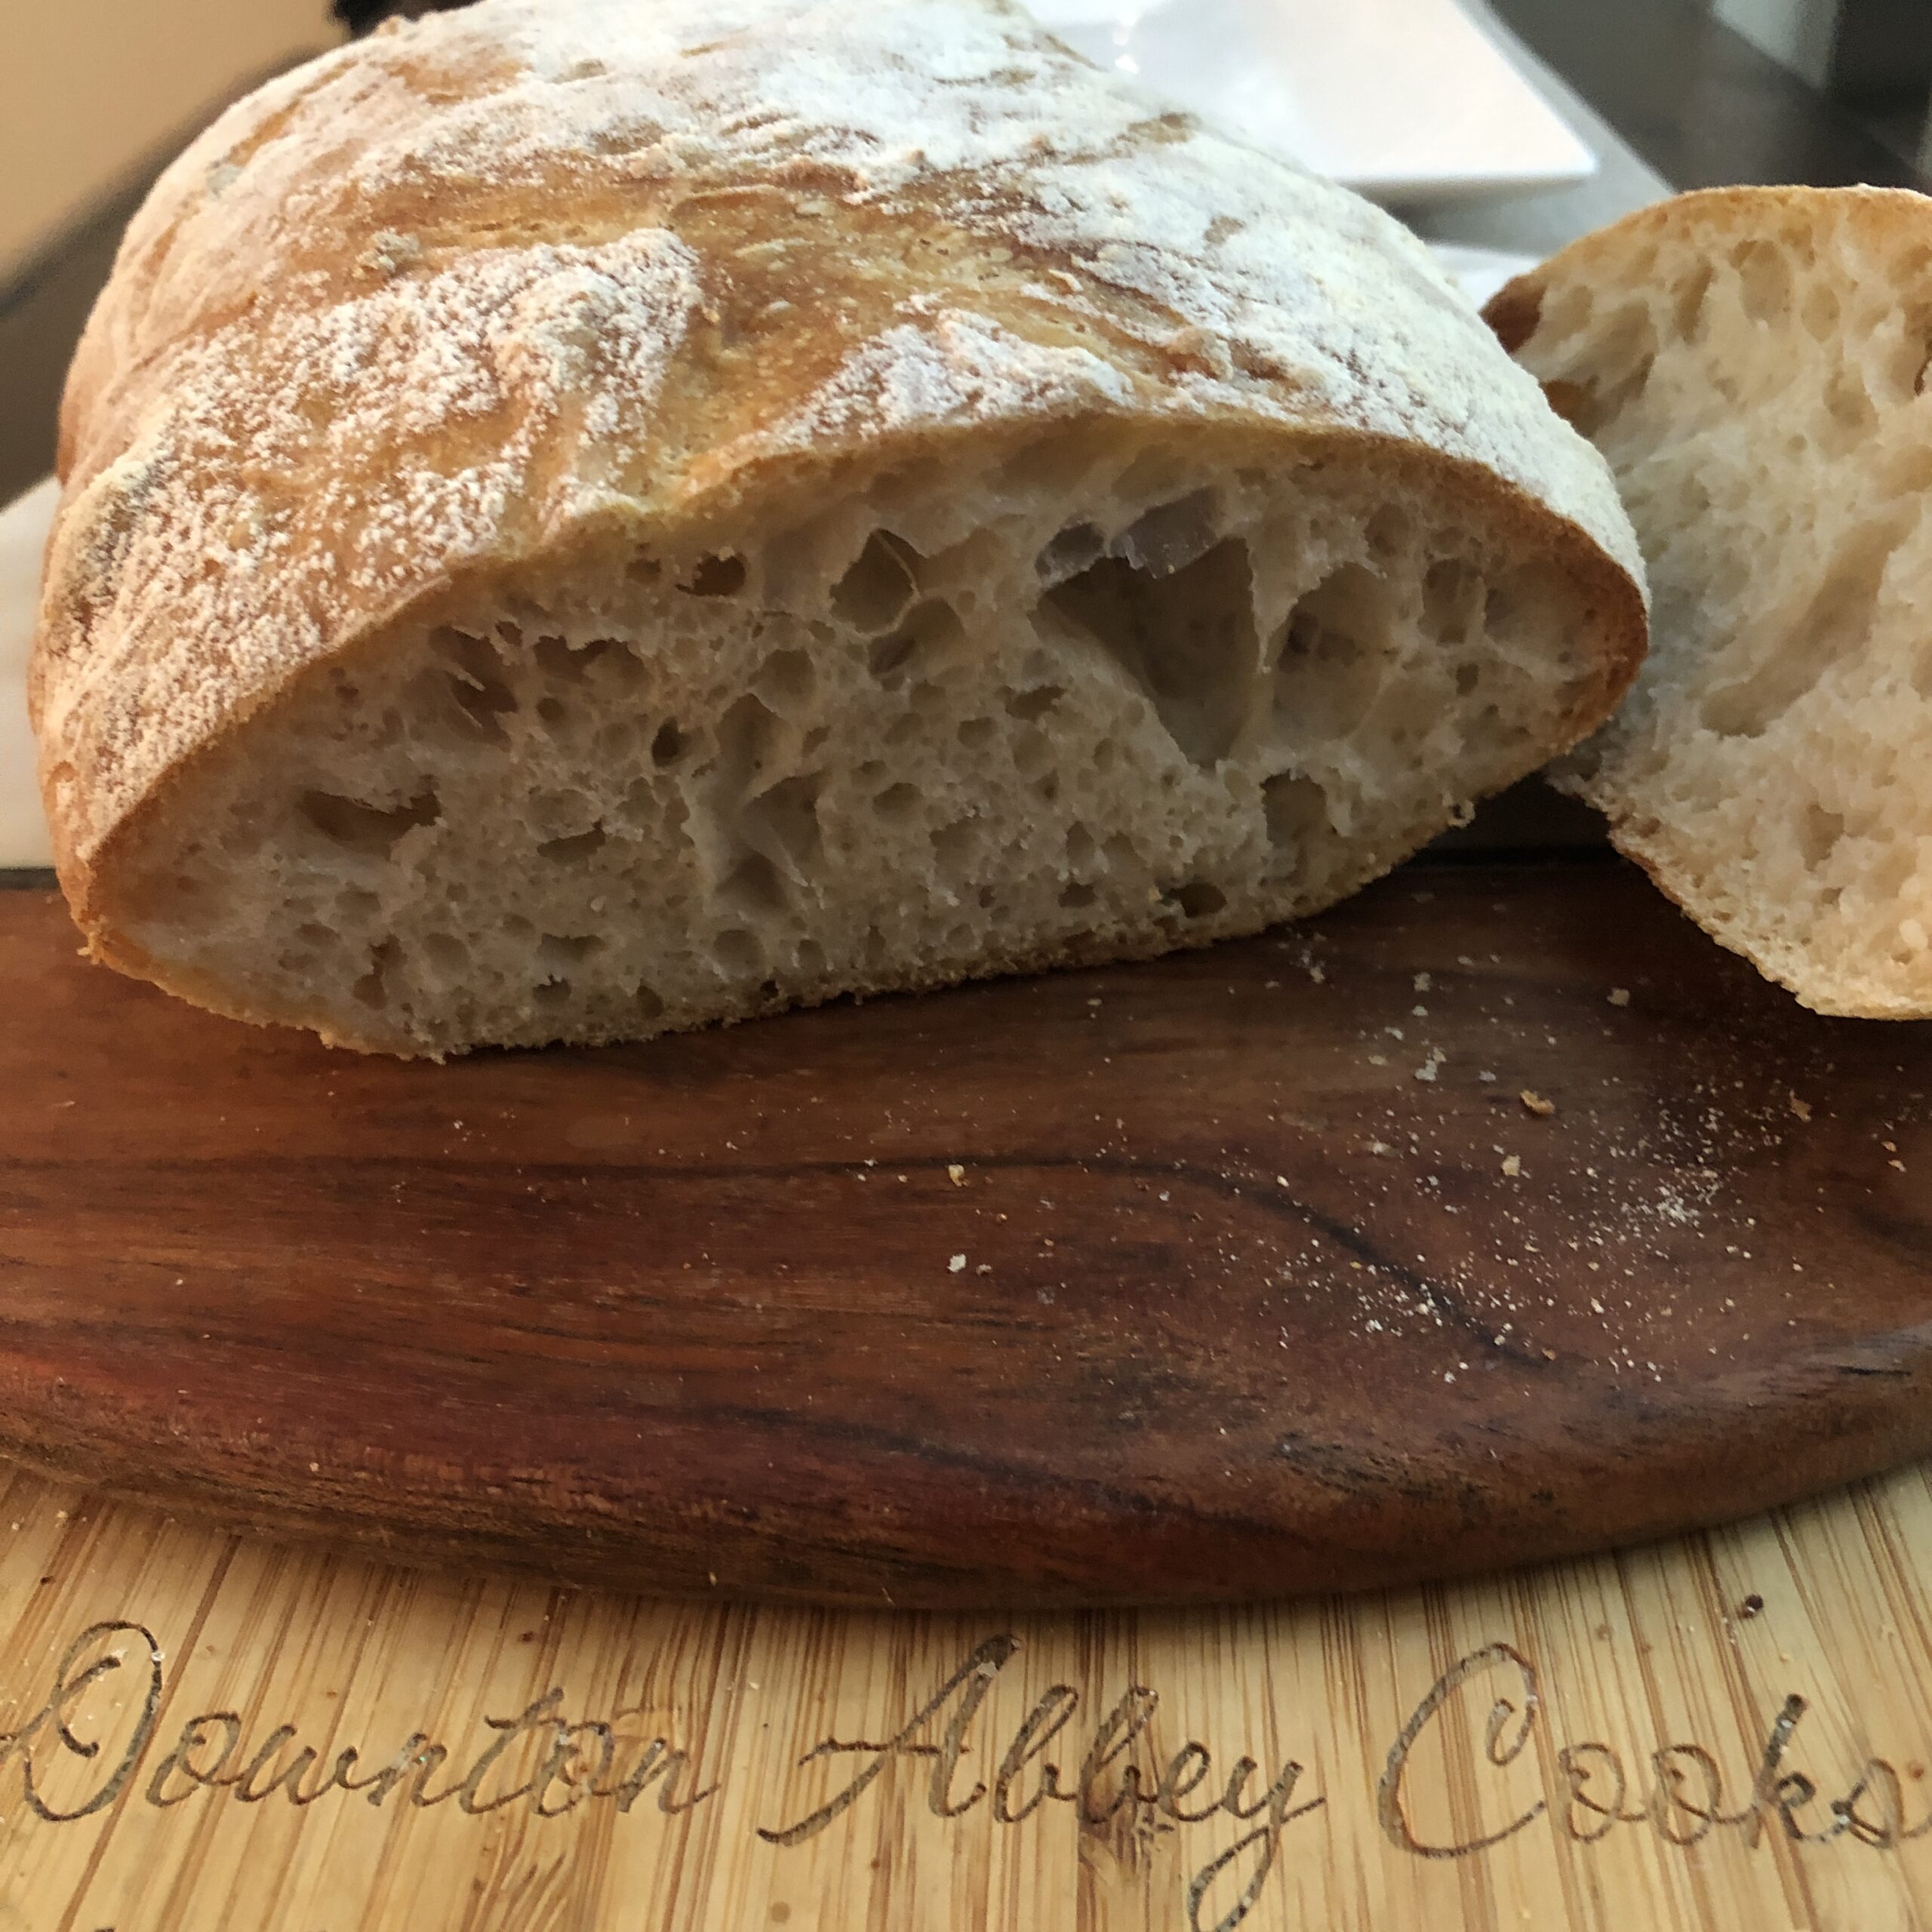
Why this works: Based on the groundbreaking techniques in Artisan Bread in Five Minutes a Day by Jeff Hertzberg and Zoë François, this recipe relies on long, cold fermentation to develop flavour and structure without mechanical kneading. The wet dough creates an open crumb structure with irregular holes—the hallmark of rustic European loaves. All-purpose flour (not bread flour) produces a thinner, crispier crust and lighter texture.
Perfect for: First-time bread bakers intimidated by traditional methods, busy households that want fresh bread without daily commitment, and anyone who’s ever said, “I don’t have time to make bread.” From mixing bowl to oven, it takes about 90 minutes per loaf, but only 5-10 minutes is actual hands-on work.
The schedule flexibility: make dough on Sunday and bake fresh bread on Tuesday, Thursday, and Saturday. Or bake it all at once for a dinner party. The dough waits for you, not the other way around.
No Knead Crusty Bread
Equipment
- 1 large bowl
- 1 lined baking tray
Ingredients
- 7 1/2 cups Unbleached All-Purpose Flour 900 g
- 3 cups water, lukewarm 680 g
- 1 tbsp. table salt 18 g
- 1 1/2 tbsp. instant yeast or active dry yeast 14 g
Instructions
- Combine all of the ingredients in a large mixing bowl, or a large (6-quart), food-safe plastic bucket. For first-timers, "lukewarm" means about 105°F, but don't stress over getting the temperatures exact here. Comfortably warm is fine; "OUCH, that's hot!" is not. Yeast is a living thing; treat it nicely.
- Mix and stir everything together to make a very sticky, rough dough. If you have a stand mixer, beat at medium speed with the beater blade for 30 to 60 seconds. If you don't have a mixer, just stir-stir-stir with a big spoon or dough whisk until everything is combined.
- Next, you're going to let the dough rise. If you've made the dough in a plastic bucket, you're all set — just let it stay there, covering the bucket with a lid or plastic wrap; a shower cap actually works well here. If you've made the dough in a bowl that's not at least 6-quart capacity, transfer it to a large bowl; it's going to rise a lot. There's no need to grease the bowl, though you can if you like; it makes it a bit easier to get the dough out when it's time to bake bread.
- Cover the bowl or bucket, and let the dough rise at room temperature for 2 hours. Then refrigerate it for at least 2 hours, or for up to about 7 days. (If you're pressed for time, skip the room-temperature rise, and stick it right into the fridge). The longer you keep it in the fridge, the tangier it'll get; if you chill it for 7 days, it will taste like sourdough. Over the course of the first day or so, it'll rise, then fall. That's OK; that's what it's supposed to do.
- When you're ready to make bread, sprinkle the top of the dough with flour; this will make it easier to grab a hunk. Grease your hands, and pull off about 1/4 to 1/3 of the dough — a 400g to 540g piece, if you have a scale. It'll be about the size of a softball, or a large grapefruit.
- Plop the sticky dough onto a floured work surface, and round it into a ball, or a longer log. Don't fuss around trying to make it perfect; just do the best you can.
- Place the loaf on a piece of parchment (if you're going to use a baking stone); or onto a lightly greased or parchment-lined baking sheet. Sift a light coating of flour over the top; this will help keep the bread moist as it rests before baking. Drape the bread with greased plastic wrap, or cover it with a reusable cover.
- Let the loaf warm to room temperature and rise; this should take about 60 minutes (or longer, up to a couple of hours, if your house is cool). It won't appear to rise upwards that much; rather, it'll seem to settle and expand. Preheat your oven to 450°F while the loaf rests. If you're using a baking stone, position it on a middle rack while the oven preheats. Place a shallow metal or cast iron pan (not glass, Pyrex, or ceramic) on the lowest oven rack, and have 1 cup of hot water ready to go.
- When you're ready to bake, take a sharp knife and slash the bread 2 or 3 times, making a cut about 1/2" deep. The bread may deflate a bit; that's OK, it'll pick right up in the hot oven.
- Place the bread in the oven — onto the baking stone, if you're using one, or simply onto a middle rack, if it's on a pan — and carefully pour the 1 cup hot water into the shallow pan on the rack beneath. It'll bubble and steam; close the oven door quickly.
- Bake the crusty bread for 25 to 35 minutes, until it's a deep, golden brown.
- Remove the bread from the oven, and cool it on a rack.
- Store leftover no-knead crusty bread in a plastic bag at room temperature. For longer storage options, see our blog post, Freezing no-knead bread dough, for details.
Notes
No Knead Crusty Bread
Equipment
- 1 large bowl
- 1 lined baking tray
Ingredients
- 7 1/2 cups Unbleached All-Purpose Flour 900 g
- 3 cups water, lukewarm 680 g
- 1 tbsp. table salt 18 g
- 1 1/2 tbsp. instant yeast or active dry yeast 14 g
Instructions
- Combine all of the ingredients in a large mixing bowl, or a large (6-quart), food-safe plastic bucket. For first-timers, “lukewarm” means about 105°F, but don’t stress over getting the temperatures exact here. Comfortably warm is fine; “OUCH, that’s hot!” is not. Yeast is a living thing; treat it nicely.
- Mix and stir everything together to make a very sticky, rough dough. If you have a stand mixer, beat at medium speed with the beater blade for 30 to 60 seconds. If you don’t have a mixer, just stir-stir-stir with a big spoon or dough whisk until everything is combined.
- Next, you’re going to let the dough rise. If you’ve made the dough in a plastic bucket, you’re all set — just let it stay there, covering the bucket with a lid or plastic wrap; a shower cap actually works well here. If you’ve made the dough in a bowl that’s not at least 6-quart capacity, transfer it to a large bowl; it’s going to rise a lot. There’s no need to grease the bowl, though you can if you like; it makes it a bit easier to get the dough out when it’s time to bake bread.
- Cover the bowl or bucket, and let the dough rise at room temperature for 2 hours. Then refrigerate it for at least 2 hours, or for up to about 7 days. (If you’re pressed for time, skip the room-temperature rise, and stick it right into the fridge). The longer you keep it in the fridge, the tangier it’ll get; if you chill it for 7 days, it will taste like sourdough. Over the course of the first day or so, it’ll rise, then fall. That’s OK; that’s what it’s supposed to do.
- When you’re ready to make bread, sprinkle the top of the dough with flour; this will make it easier to grab a hunk. Grease your hands, and pull off about 1/4 to 1/3 of the dough — a 400g to 540g piece, if you have a scale. It’ll be about the size of a softball, or a large grapefruit.
- Plop the sticky dough onto a floured work surface, and round it into a ball, or a longer log. Don’t fuss around trying to make it perfect; just do the best you can.
- Place the loaf on a piece of parchment (if you’re going to use a baking stone); or onto a lightly greased or parchment-lined baking sheet. Sift a light coating of flour over the top; this will help keep the bread moist as it rests before baking. Drape the bread with greased plastic wrap, or cover it with a reusable cover.
- Let the loaf warm to room temperature and rise; this should take about 60 minutes (or longer, up to a couple of hours, if your house is cool). It won’t appear to rise upwards that much; rather, it’ll seem to settle and expand. Preheat your oven to 450°F while the loaf rests. If you’re using a baking stone, position it on a middle rack while the oven preheats. Place a shallow metal or cast iron pan (not glass, Pyrex, or ceramic) on the lowest oven rack, and have 1 cup of hot water ready to go.
- When you’re ready to bake, take a sharp knife and slash the bread 2 or 3 times, making a cut about 1/2″ deep. The bread may deflate a bit; that’s OK, it’ll pick right up in the hot oven.
- Place the bread in the oven — onto the baking stone, if you’re using one, or simply onto a middle rack, if it’s on a pan — and carefully pour the 1 cup hot water into the shallow pan on the rack beneath. It’ll bubble and steam; close the oven door quickly.
- Bake the crusty bread for 25 to 35 minutes, until it’s a deep, golden brown.
- Remove the bread from the oven, and cool it on a rack.
- Store leftover no-knead crusty bread in a plastic bag at room temperature. For longer storage options, see our blog post, Freezing no-knead bread dough, for details.