Welcome to Tea Tuesday. Last week was a wonderful time for tea and cakes as the world paid a call on London for the Queen’s Diamond Jubilee Central Weekend. And while international media has moved on to other stories, the Queen and Royal Family continues with celebrations around the world. You can keep track of the Queen’s schedule on her official website www.thediamondjubilee.org.
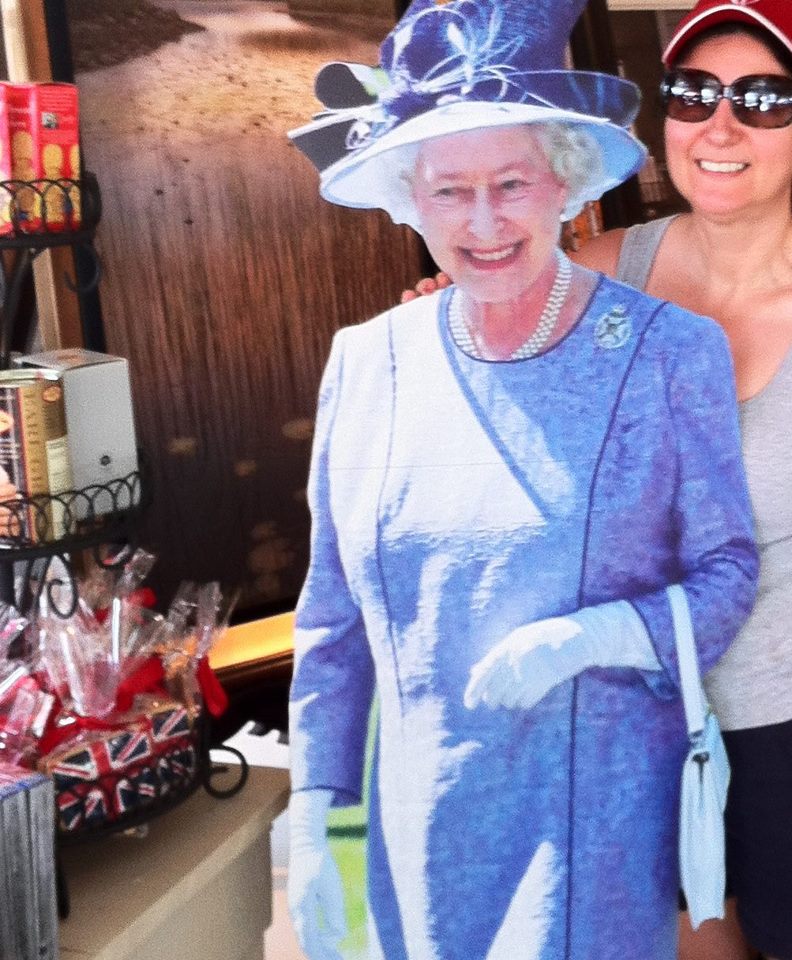
Lord D and I were on the hunt for local strawberries and asparagus this past weekend and thought we spotted the Queen pitching tasteful Jubilee items at the lovely gift shop at Springridge Farm in Ontario.
The British may have failed miserably in other culinary areas, but they excel in the tea ritual.
Jammin
Today we are going to talk about the lovely preserves– which we could not do without– at tea.
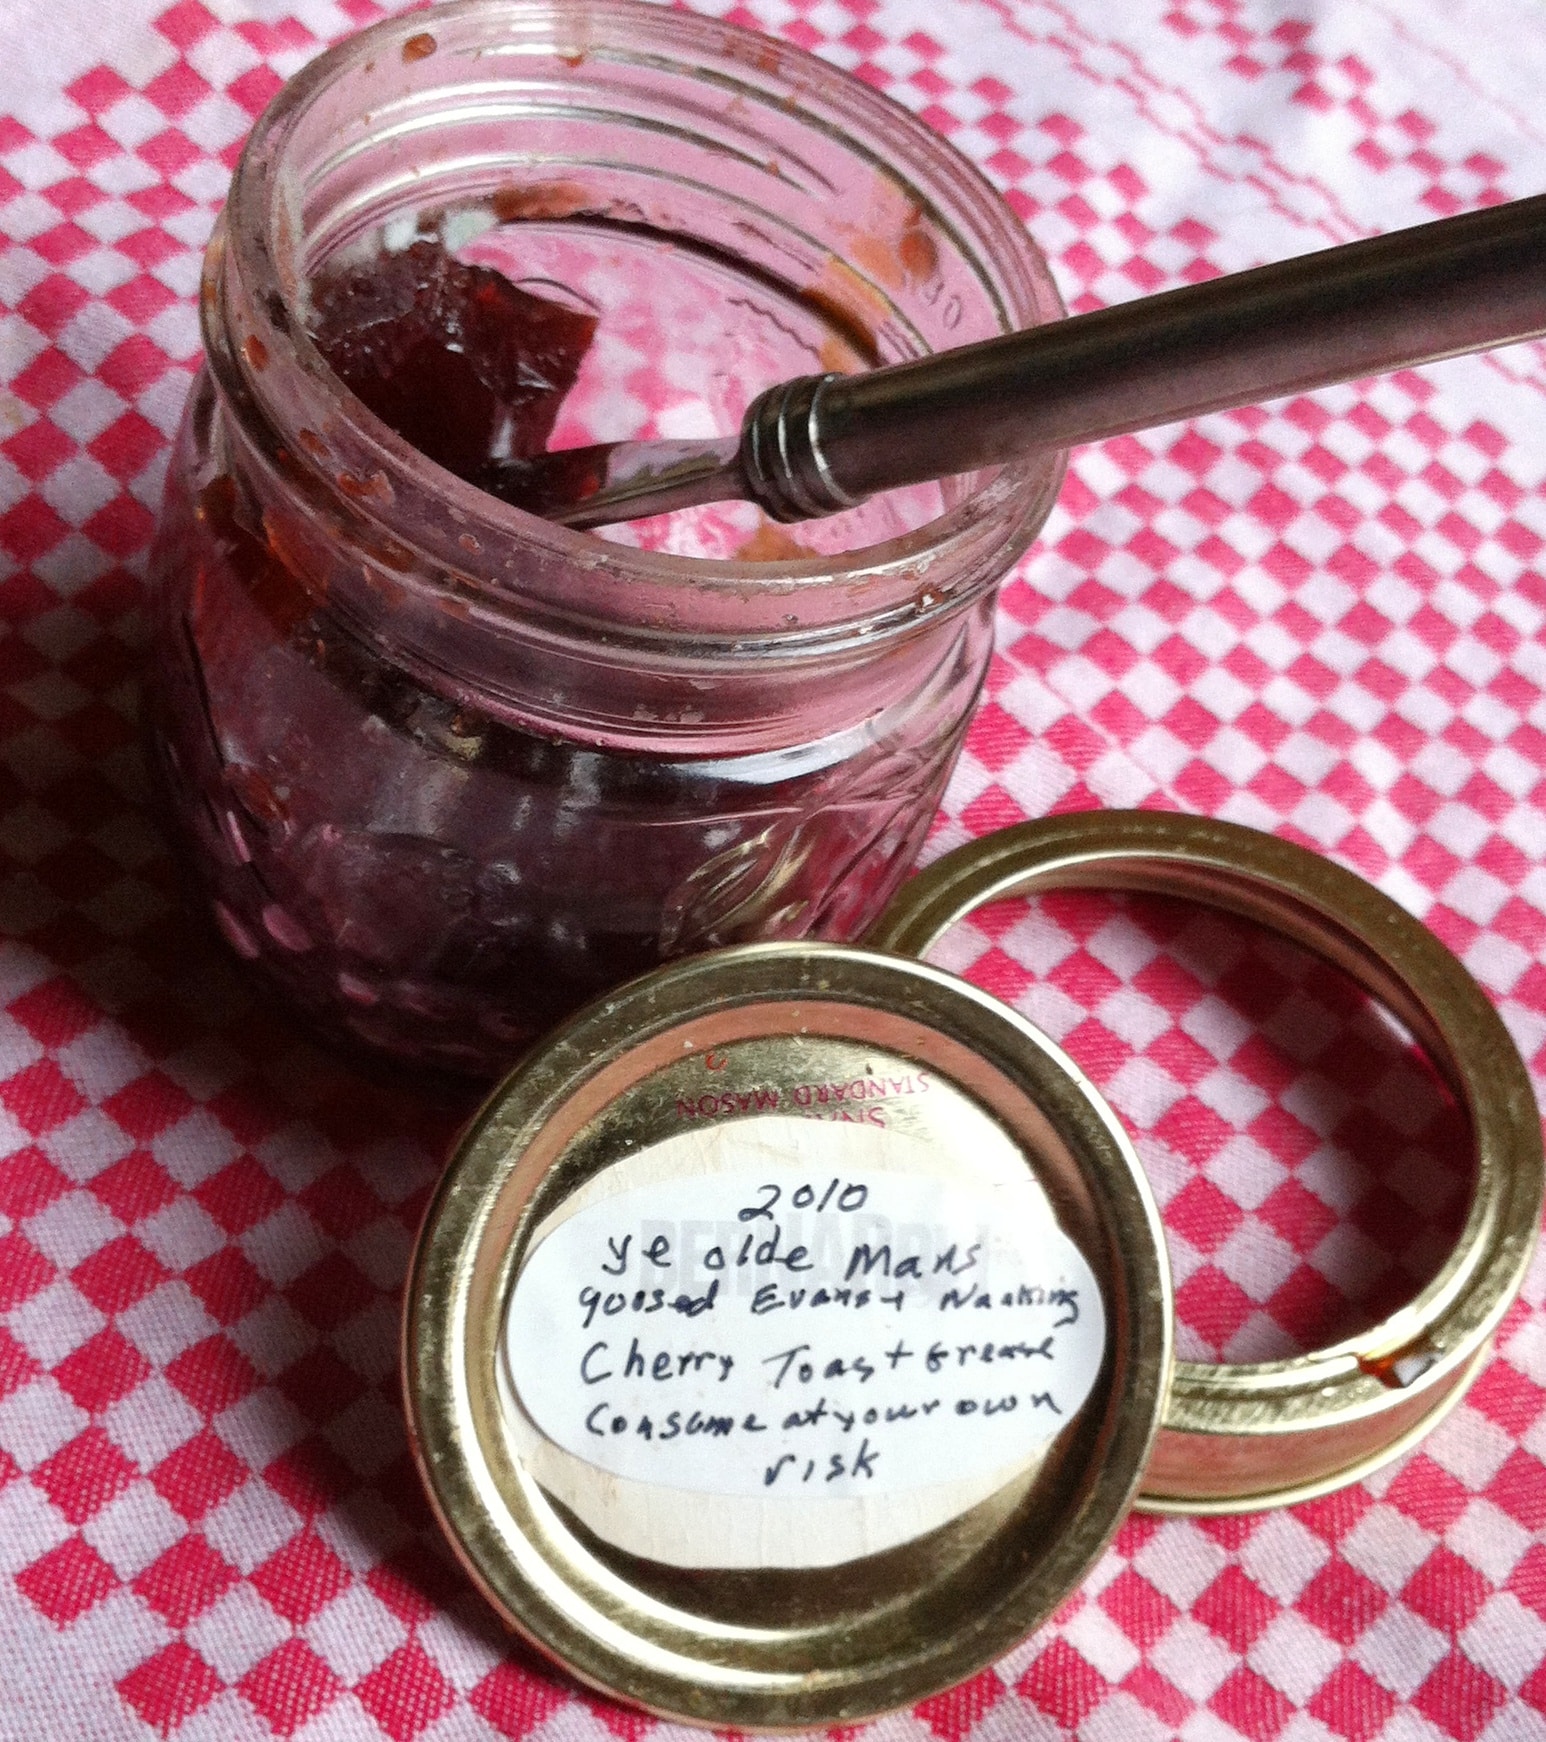
This is the time of year when thoughts of “putting up” refers not just to have the kids running underfoot all summer. Large gardens produce plentiful produce which is more than one can consume (believe me I tried hard), or should consume while it is still fresh. Like a bank account, cooks for centuries have been preserving food for the long winter months. Growing up we were a family of five with a large garden which provided an abundance of food which we canned. It was like a science lab in our house. My father wasn’t interested in pickling but loved experimenting with tomato sauces and in particular took great pleasure in creating jams from saskatoons, and cherries.
History of Canning
So if you are Daisy in Mrs. Patmore’s kitchen, part of your duties would be canning as fresh produce from the Downton gardens became available. The process was patented by Nicolas Appert in the early 1800s, after winning a large cash prize Napoleon offered to find a better way to preserve food to feed his troops. Appert came up with a system of precooking, air-tight sealing and final processing in a newly designed glass canning jar. His wide-mouthed pint “bottles” were filled with hot cooked foods, stoppered with hand-cut corks fitted to the irregularities of the blown glass, sealed with a compound made of lime and skim milk and then finished in a boiling water bath. He wasn’t quite sure why the food would not spoil. It was Louis Pasteur who answered the demonstrated the role of microbes in food spoilage fifty years later.
Home canning took off in the First World War as food rationing was in place and governments promoted “victory gardens”, providing instruction to housewives on the art of canning at home.
Starting your canning career with jam is a good place to start. The quantities are smaller, and you get to immediately enjoy the rewards at breakfast and tea. You can be creative and create your own labels to give away as hostess gifts. Much more glamourous than the tomato sauce ritual in late summer, but you can build up to that and gather family around have a big canning party.
Here are two recipes using two different methods. My dad likes the old paraffin method for his jam since there is not a great deal of extra work and the jam is used up in a relatively short period of time, reducing the opportunity for bacterial growth. Here are how to instructions to sealing with wax. Canning Homemade is a great blog which explains the other method which is the water bath. It has a ton of recipes, and also explains when you need to use a pressure canner (for low acid foods). There is also the freezer method which has its own type of pectin, but Mrs. Patmore did not freezer capabilities, so we will pretend that it hadn’t been invented yet.
As you can see there is a lot of sugar in jam, so if you want to explore low sugar versions, particularly if you are diabetic, you should be looking for the no sugar-low–methoxyl-pectin which requires little or no sugar to work its magic.
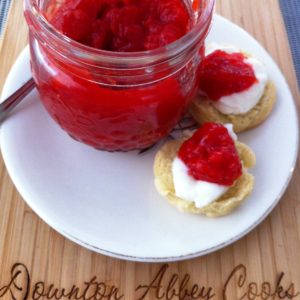
Strawberry Champagne Jam
Luscious Strawberry Champagne Jam
Ingredients
- 4 cups ripe strawberries, washed, hulled and quartered
- 1 1/2 cups sugar for Keto use Stevia
- 1 tbsp. pectin use sugar free pectin for Keto version
- 1 1/4 cups champagne or sparkling wine.
- 4 tbsp. freshly squeezed lemon juice
Instructions
- In a heavy-bottomed pan combine the strawberries, sugar, pectin, and champagne and stir over low heat until the sugar has dissolved.
- Add the lemon juice and gently simmer for 20 minutes, then bring to a rapid boil for 5 minutes.
- Test the setting point by placing a teaspoon of jam on a chilled saucer. If the surface of the jam wrinkles when pushed, it is ready. If not, continue to simmer and test again. Allow jam to sit for 15 minutes in the pan to solidify a little; this will prevent the fruit from floating to the top when its in the jar.
- Ladle the jam into clean, warm sterilized jars. Cover with wax discs and seal immediately. The jam sets as it cools.
Notes
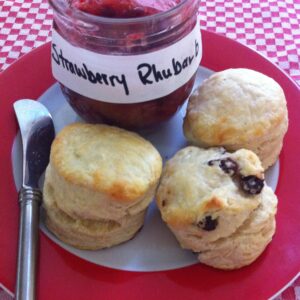
Strawberry Rhubarb Jam
Yummy Strawberry Rhubarb Jam
Ingredients
- 2 cups rhubarb chopped
- 4 cups strawberries chopped
- 3 cups sugar Keto- use 1 cup Stevia
- 1 large lemon zested and juiced
- 1 packet liquid pectin Keto-sugar free pectin
Instructions
Make the Jam
- In a 8-quart, non-reactive pot, stir the rhubarb, strawberries and sugar together off the heat. Once the sugar has begun to dissolve, place pot on burner and bring to a boil.
- Add the lemon juice/zest to the pot and let it bubble gently for approximately 15-20 minutes. As the jam cooks, use the back of a wooden spoon to mash any large pieces of fruit. Add the pectin, stir to combine and let cook for a few more minutes.
- At this point, dip a spoon in the jam and see how it coats the back of the spoon. You can also try the saucer test. If you get a nice, even sheet, the jam is done. You can also taste at this point, to see if you like the balance of flavors. Add a little more lemon juice if you feel it needs additional brightening.
Can the Jam
- Pour into hot jars, wipe rims to remove any spillage and apply lids/rings.
- Wash your jars and rings and lay them out on a towel to dry. Place your lids in a small saucepan and put over medium heat, so that the sealing compound softens in preparation for canning.
- Process in a hot water bath for ten minutes.
- Remove from water and let cool. When jars are cool, remove rings and test seals. Refrigerate any jars that didn’t seal and store the rest in a cool, dark place.

